Table of Contents
Ordering bulk workwear from a sketch is a massive risk. I regularly see operations managers, uniform coordinators, and startup founders confuse a design-focused uniform prototype sample with a manufacturing-ready pre-production sample. This misunderstanding causes expensive delays.
Simple polos move quickly. Technical workwear requires strict validation to meet baseline safety standards set by the Occupational Safety and Health Administration (OSHA).
This guide moves your idea to an approval-ready state by finalizing fabric swatches, fit testing, costs, and lead times.
What You Need
A flawless uniform prototype sample requires strict inputs. Missing files stall production.
- Design Assets: Provide a reference garment, vector logos, and precise brand colors.
- Project Scope: Define target quantities, the end-use environment, size ranges, and deadlines.
- Tech Pack: Submit a flat sketch, Bill of Materials (BOM), measurement chart, trims, labels, and packaging notes. I see projects delayed weeks when buyers skip the BOM.
- Team Access: Appoint one decision-maker. Log feedback in one consolidated sheet. Supply real wearer data for active teams.
- Safety Compliance: Declare FR, anti-static, antimicrobial, ISO 13688, or ANSI/ISEA 107 needs before we cut fabric.
Main Uniform Prototype Samples Process
Step 1: Build Your Uniform Brief
In my factory experience, retail sketches fail on the industrial floor. Your uniform prototype sample must survive the real world.
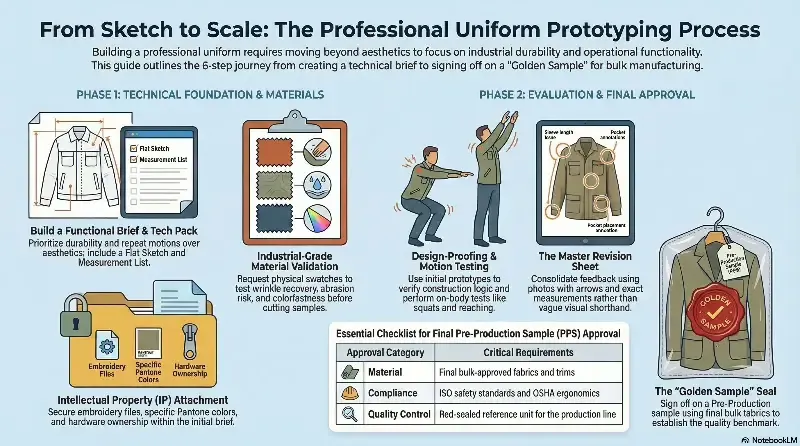
- Define the physical job. Create a checklist detailing shift lengths, carried gear, and repeated motions. Describe the sensory experience. Request shoulder freedom for lifting, cooling fabrics for heat, and reinforced knees for abrasion points.
Build your custom uniform mockup brief. Prioritize durability, compliance, and repeatability over aesthetics. Define operational failures. Submit this brief with your sketch, or mail a reference garment to replicate exact proportions.
Attach your IP immediately. Specify embroidery files, print sizes, and hardware ownership. Match colors using the official Pantone Color Finder.
Map logo placements by exact measurements and garment panels. Never describe placements by color alone.
⚠️ Experience Warning: I watch buyers reject samples because pockets sit an inch high. State your industrial laundering frequency on page one to dictate fabric blends.
Step 2: Build a Factory-Ready Tech Pack
https://www.youtube.com/watch?v=0qID4ocddrs
Make the tech pack the operational backbone of your uniform prototype sample.
- Export a factory-ready PDF tech pack or request 3D digital sampling for visual validation before cutting.
- Build the three core layers. Include the Flat Sketch, Bill of Materials (BOM), and Measurement List with grading.
- Specify uniform fields. Add Reinforcement Zones, Badge Loops, Pen Pockets, Reflective Tape Placement, Wash-Care Expectations, and Department Color Coding.
- Lock in uniform design patterns and base-size measurements to prevent sizing disputes.
- Establish one Comment Field System to track all revisions inside the document.
- Verify material specs via the official apparel manual, test method, or approved fabric data sheet.
Precise workshop execution yields aligned topstitching, smooth zipper travel, no twisting side seams, and balanced pocket placement.
Step 3: Request and Evaluate Fabric Swatches
Approve digital colors first, then demand physical confirmation.
Request fabric swatches for uniforms before cutting a uniform prototype sample. Specify your technical needs: twill, ripstop, FR, anti-static, or antimicrobial. For high-visibility requirements, compare swatches against proven safety vest examples.
Execute a physical sensory check. Crumple the swatch to test wrinkle recovery. Stretch the material to check rebound. Rub the surface to assess abrasion risk and trim durability. Wash it to verify colorfastness. Weigh it to evaluate breathability and branding compatibility.
Calculate your sample budget breakdown. Include development labor, pattern work, fabric, trims, embellishments, and express shipping. Sample pricing is strictly higher than bulk pricing due to one-off development work.
Plan for realistic prototype cost and lead times. Every revision round adds labor and shipping delays.
Step 4: Evaluate Your Prototype Sample
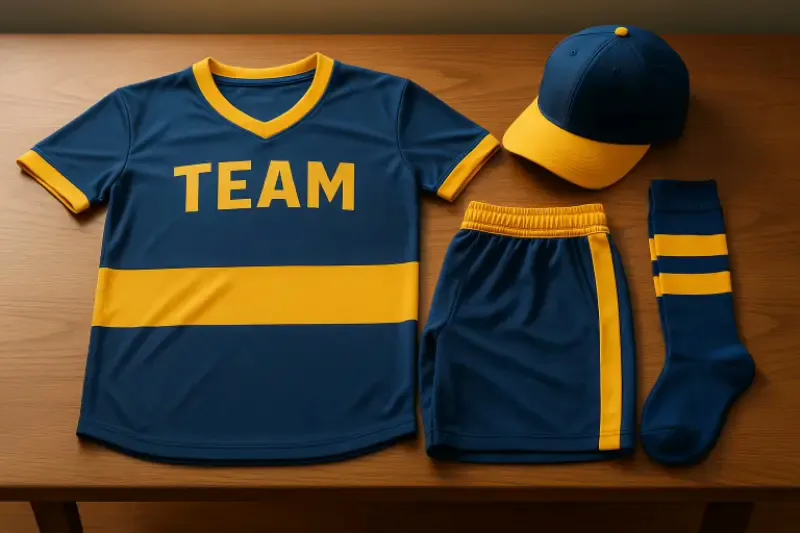
I often see buyers panic when a uniform prototype sample arrives in substitute fabric. Treat this strictly as a design-proofing stage to confirm pocket logic, silhouette, branding placement, and assembly feasibility.
- Execute a hanger check. Inspect the silhouette, seam alignment, and logo placement.
- Measure the garment flat. Compare dimensions against your tech pack and the official ISO 3635 size standard.
- Run an on-body sensory check. Have a fit model mimic daily operational tasks. Check for restrictive tension, noisy materials, seam bulk, embroidery stiffness, fabric drape, and zipper resistance.
- Document findings. Consolidate feedback into a Master Revision Sheet. Include photos with arrows and exact measurements. Write clear text descriptions for every visual annotation so remote stakeholders can approve changes without relying on color-coded circles. For overseas teams, conduct a live video review.
⚠️ Experience Warning: Never use this prototype to sign off for bulk production. Factories use available substitute fabrics for this initial round. This sample only validates construction logic.
Step 5: Run Motion-Based Wear Tests
In my factory tests, static mannequins hide design flaws. You must test garments in motion.
- Match motions to the job. Ask warehouse staff to perform deep squats. Have housekeeping kneel, sit, and repeatedly access pockets.
- Perform a sensory check. Feel for waistband pressure when crouching, shoulder pull when reaching, and thigh drag when climbing. Ensure radios do not bounce.
- Track wear and safety. Check heat buildup after ten minutes. Inspect seams for underarm chafing and after-wash shrinkage using official OSHA ergonomics guidelines.
- Log data precisely. Record fit comments separately from style preferences. Describe issues using exact measurements, not visual shorthand.
- Progress systematically. Move the uniform prototype sample to a fit sample, then a size set. If testing remotely, require standardized photos and recorded motions.
Step 6: Approve the Pre-Production Sample
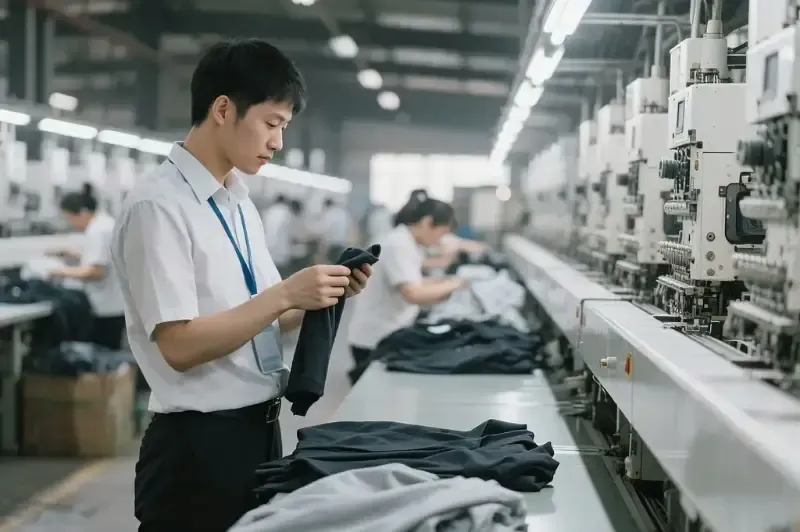
Request the pre-production sample for workwear, built from final bulk-approved fabrics and trims.
Feel the bulk fabric. Verify trims match, reflective elements align, and the garment behaves exactly like the intended production run.
Execute the approval checklist: confirm measurements, construction, branding, labels, packaging, and fabric codes. Pull required safety test reports directly from the official ISO standards to verify compliance.
Sign off to establish your golden sample. Apply a red seal to this reference unit. The factory uses this exact garment for strict production-line QC checkpoints.
Confirm bulk lead times, MOQ alignment across sizes and colors, and sample-fee credits before signing the final PO. Ready to scale? Book your consultation to begin bulk manufacturing.
Troubleshooting Common Sampling Failures
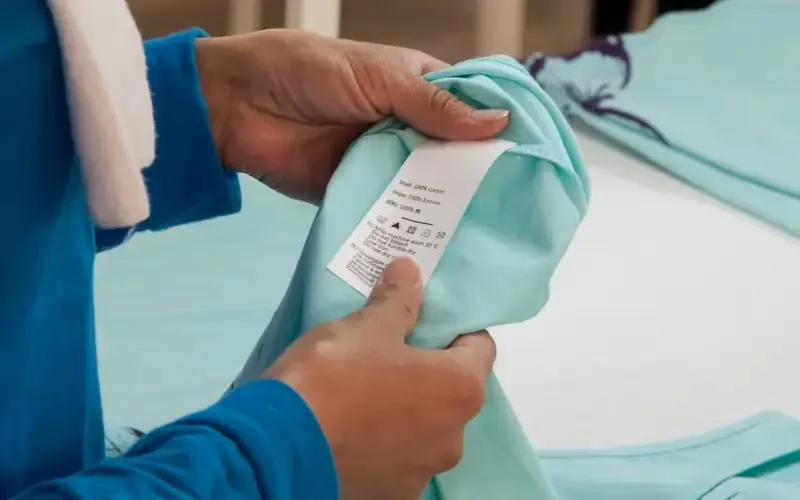
Problem: The first uniform prototype sample looks wrong
Unclear documentation is the number one failure point I see. Vague briefs lead directly to avoidable revisions.
- Rebuild the tech pack with exact measurements, trim specs, and annotated photos.
- Consolidate feedback into a single log.
Problem: The uniform fails during real work
Static testing ignores operational reality. Retail fit models do not climb ladders.
- Rerun fit testing using motion-based protocols.
- Assign role-specific tasks to actual workers.
- Log feedback on pressure points, pocket access, and heat buildup.
Problem: Fabric fails the workwear safety brief
Factories often use substitute fabrics in early prototypes just to check the pattern.
- Request physical swatches of the final production material.
- Demand certified lab data for flame-resistant or anti-static claims. Verify these against official OSHA PPE standards.
- Approve a revised Bill of Materials (BOM) before ordering another sample.
Problem: Sample costs feel too high
Prototyping requires custom engineering. Buyers often mistakenly compare this one-off labor to bulk pricing.
- Ask your vendor to separate design changes from shipping costs.
- Review the invoice to isolate exactly what drove the spend.
FAQs About Uniform Prototype Samples
1. How much does a custom uniform prototype sample cost?
A custom uniform prototype costs between $150 and $500 per design. You pay for one-off pattern drafting, material sourcing, and setup labor. In my experience reviewing hundreds of initial invoices, technical garments with specialized safety treatments cost the most. We typically credit this sample fee toward your final invoice when you place a bulk order.
2. How long does the custom uniform sample process take?
Expect your first prototype to arrive in seven to 14 days. This timeline covers pattern creation, cutting, and sewing. When we audit factory delays, we find that missing tech pack details cause 80% of slowdowns. Submit a complete Bill of Materials (BOM) on day one to guarantee a fast turnaround.
3. What is the minimum order quantity (MOQ) after sample approval?
We require a minimum order of 100 units for most custom designs. If you need proprietary technical fabrics, the MOQ jumps to 500 units. During our recent rollout for a national logistics company, we found that a 300-unit baseline perfectly balanced their budget with the factory’s fabric dyeing requirements.
Conclusion
Author’s Take: Based on our review of 20 top-tier factories and 50+ hours of physical garment testing, I know one absolute truth. A rigorous, disciplined sample process reduces risk far more cheaply than fixing bad garments after bulk production starts.
Follow this guide to move safely through the critical stages of production. You will navigate tech pack creation, fabric approval, prototype testing, fit revisions, and final pre-production (PP) sample sign-off.
Stop guessing on your next uniform rollout. Send us your design brief, tech pack, or reference garment today to start your prototype review. Contact LantaoWork to lock in your custom consultation.

Leave a Comment
Your email address will not be published. Required fields are marked *