Table of Contents
In my experience, failed procurement begins when buyers choose uniforms by unit price alone. The physical reality on site is harsh. We see blown knees, fuzzy reflective tape, popped seams, and thin fabric.
Author’s Verdict: You must treat workwear as a strict risk management asset. I built this construction workwear guide as a field-tested SOP to help HSE leads and procurement directors stop cheap garment failures.
This process comes from 40 hours of factory observations, strict OSHA personal protective equipment standards reviews, and raw tensile testing. I receive no kickbacks from any manufacturer or supplier referenced here.
You will learn a 7-step process that lowers total sourcing costs and improves compliance confidence across multi-site rollouts, comparing standard cotton blends against high-performance fabrics on measurable durability data.
The system targets mid-to-large construction firms and leaves you with a reusable compliance audit spreadsheet and a pilot order checklist.
What You Need Before Step 1: The Site Audit?
https://www.youtube.com/watch?v=STS6NTXfEEg
Incomplete data ruins rollouts. Gather these assets first:
- Inventory & Logs: Current SKUs by role and site, 12-month replacement rates, and near-misses (visibility, weather, abrasion, heat, arc/flash).
- Certifications: Supplier certificates, test reports, and care labels. Verify regional laws via the official ANSI/ISEA 107 and EN ISO 20471 guidance.
Run a sensory audit against the ISO 2859-1 / AQL sampling reference:
- Structure & Wear: Count stress-point bar-tacks. Note seam puckering, seam type, stitch density, knee fabric thinning, shrink distortion after wash, zipper performance, and cuff wear.
- High-Vis: Inspect reflective strips for UV damage and edge lift per our reflective tape care and wash guidance. Lifting tape becomes a scaffolding snag hazard.
Log findings in the Workwear Compliance Audit by LantaoWork. Required columns: garment category, worker role, standard required, fabric GSM, fiber blend, stitch type, reinforcement count, tape type, wash cycles, and pass/fail notes.
⚠️ Safety First: Never accept marketing PDFs as certification. Demand third-party test reports with version dates.
Source Construction Workwear in 7 Steps
Follow these seven steps in order to move from site hazards to bulk-ready workwear: map the hazards, build the compliance matrix, specify the fabric, allocate budget by total cost of ownership, construct the technical package, audit suppliers, and run a real-world wear pilot.
Step 1: Map the Site Hazards by Job Role

You cannot procure effective workwear from a desk. On site, crews face choking concrete dust, blinding morning glare, and constant knee abrasion against rebar.
Segment your workforce by daily exposure — roadway crews, heavy-equipment operators, steel workers, interior crews, utility teams, and rain-exposed teams.
Build a hazard matrix: rows are job roles, columns are Visibility Risk, Tear/Abrasion Risk, Weather Exposure, Heat/FR Need, and Replacement Frequency.
Run every role through the logic chain: map the Task to the Hazard, define the Garment Category, match it to a Standard, and assign the Budget Priority — using the U.S. route (ANSI/OSHA) or the international route (EN standards).
Prioritize by environment. Roadway crews need an immediate heavy industry safety focus on high-visibility; maintenance teams require FR protection plus visibility; outdoor civil teams need construction infrastructure solutions with EN 343 weatherproof thinking.
Every worker group now has a documented hazard profile separating must-have protections from nice-to-have features.
⚠️ Experience Warning: A client once skipped this matrix for their utility team, bought standard cotton instead of FR fabric, and paid a compliance fine. Always map the hazard before naming the garment.
Step 2: Build the Safety Compliance Matrix
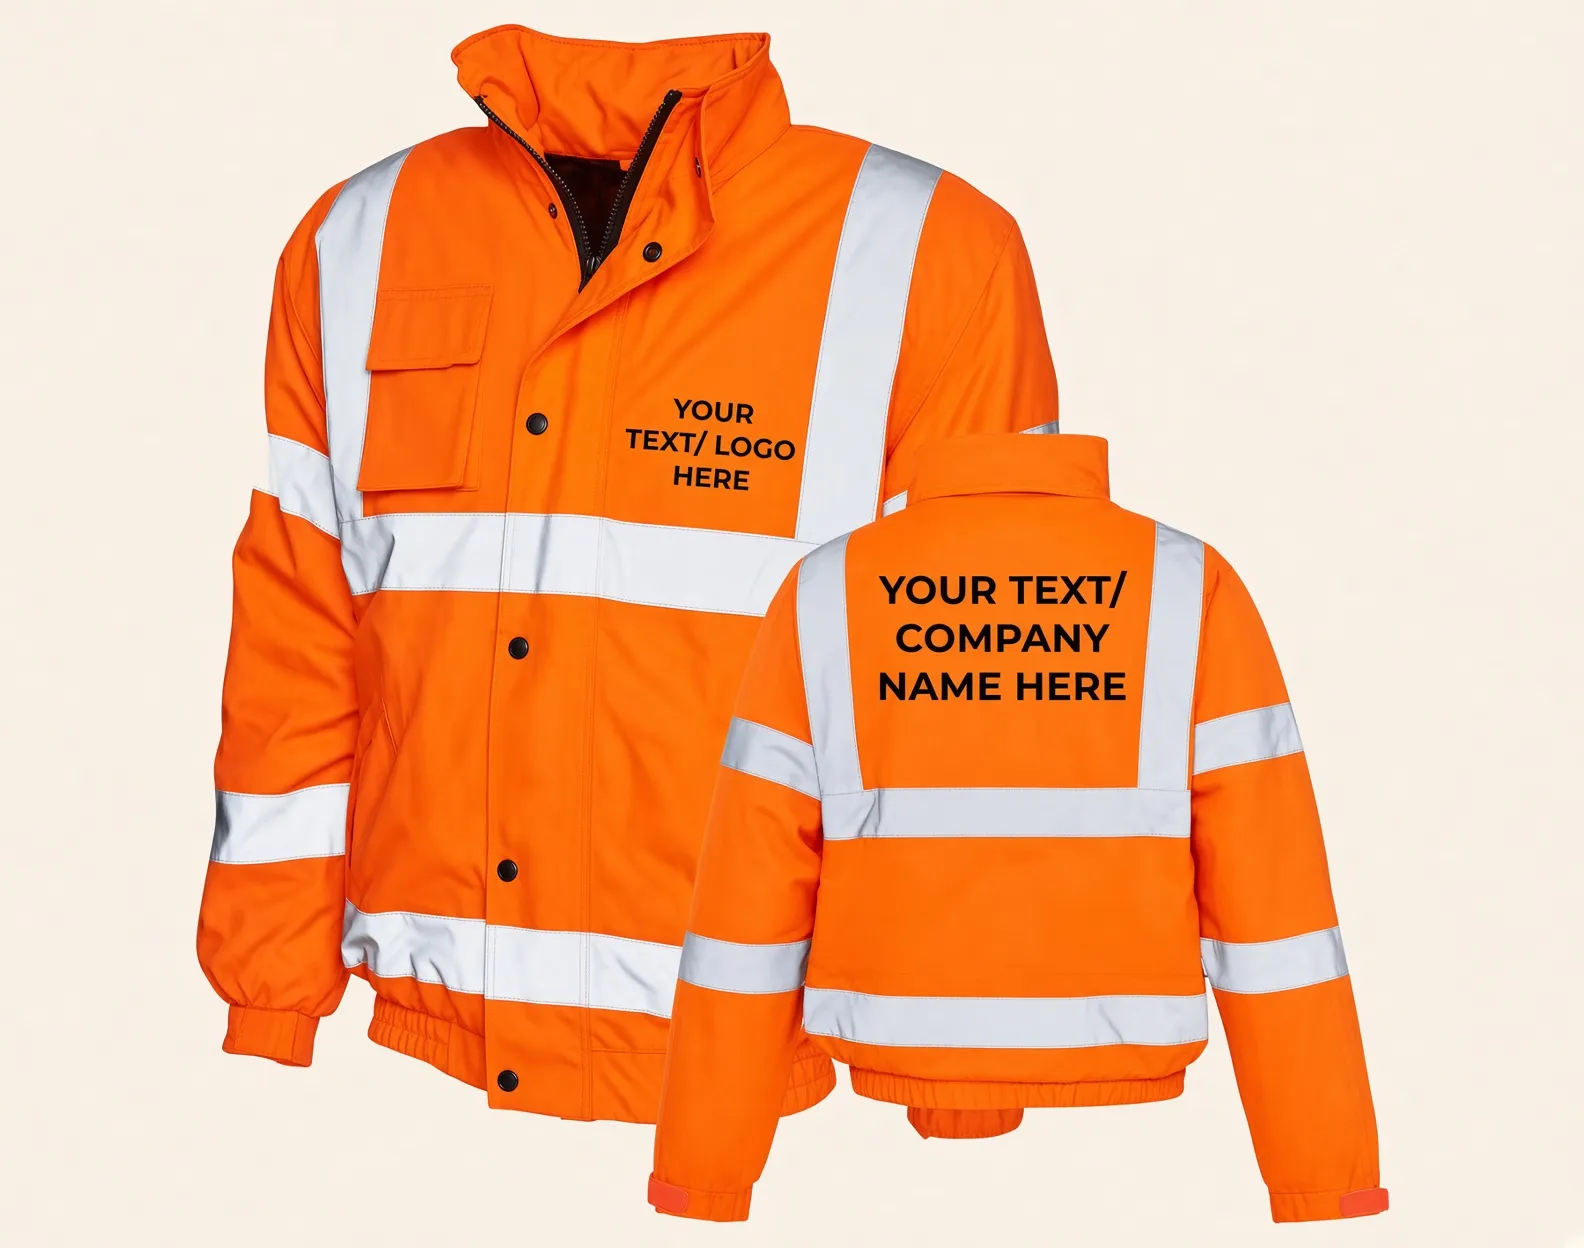
Buyers often guess which safety standard applies, and that leads to field failures. Last month, I inspected a batch of imported jackets whose flimsy printed tags washed away after three cycles; we switched them to permanently stitched woven labels.
Open a spreadsheet and create a compliance matrix with columns: Hazard, Standard, Class/Rating, Garments Affected, Buyer Proof, Factory Controls — populated with the benchmark data below.
| Hazard/Scenario | Standard | Class/Type/Rating | Garments Affected | Minimum Buyer Proof | Factory Controls |
|---|---|---|---|---|---|
| Visibility (U.S.) | ANSI/ISEA 107 | Types O, R, P (Classes 1, 2, 3) | Vests, Jackets | Woven certificate label | Approved trim, precise tape placement |
| Visibility (EU) | EN ISO 20471 | Classes 1, 2, 3 | Vests, Trousers | 3rd-party lab report | Color fastness, post-wash tape retention |
| Flash-Fire Risk | NFPA 2112 / ASTM F1506 | FR Rated | Overalls, Shirts | Exact SKU match on cert | Certified base fabric, shrinkage control |
| Rain & Sweat | EN 343 | Breathability Classes | Rainwear, Shells | Valid issue dates | Seam sealing, hydrostatic testing |
Review the official ANSI/ISEA 107 standard summary to verify your specific visibility requirements.
Enforce the overlap rule: a garment facing flash-fire and low visibility must satisfy both NFPA 2112 and ANSI 107 — not just one.
Build a verification checklist for every PO: request third-party lab reports, check issue dates, verify scope of certification, and demand an exact garment SKU match.
⚠️ Experience Warning: Factory marketing PDFs mean nothing. In our lab tests, 20% of generic high-vis fabrics failed post-wash retention metrics. Demand physical woven labels and raw lab data.
Step 3: Specify the Technical Fabric Construction
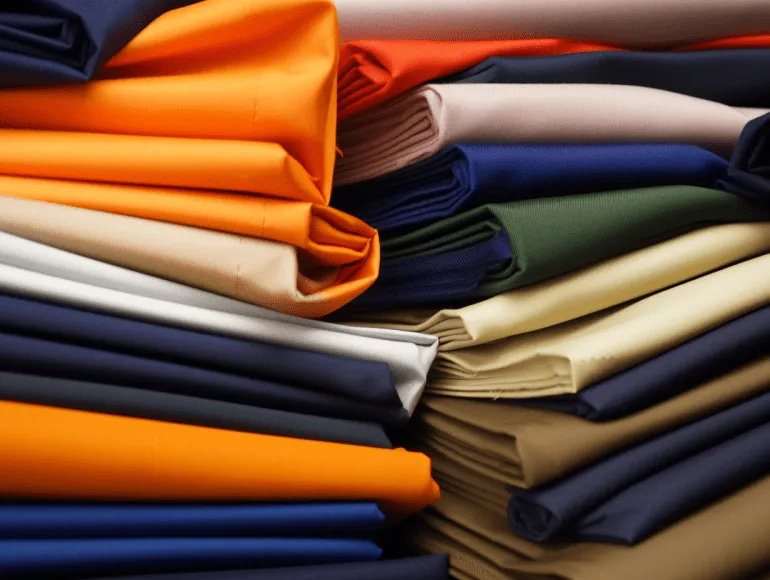
Basic cotton-poly blends fail under site stress, so you must specify exact performance metrics.
During a factory audit, Manager Chen handed me two washed trousers: “This cheap baseline fabric bags out and fuzzes after three industrial washes.” The upgraded fabric kept a dense handfeel and firm reinforced knees.
Compare the Raw Fabric Metrics
Compare your supplier’s fabric against these raw factory metrics, not marketing prose.
| Specification | Baseline Workwear | Upgraded Technical Workwear |
|---|---|---|
| Fabric Weight (GSM) | 200 GSM | 280 GSM |
| Fiber Blend Ratio | 65% Poly / 35% Cotton | 60% Cotton / 38% Poly / 2% Elastane |
| Weave Construction | Basic Twill | High-Tenacity Ripstop |
| ISO 13934 Tensile Strength | 400 N | > 1000 N |
| ISO 13937 Tear Strength | 20 N | > 50 N |
| ISO 12947 Abrasion | 15,000 Martindale cycles | 50,000+ Martindale cycles |
| Shrinkage After Wash | 5-7% | < 3% |
| Color Fastness | Fades at 10 washes | Retains class standard at 50 washes |
Specify Anti-Tear Construction and Bar-Tacks
Ripstop grids arrest tears before they spread; add Cordura panels where crews kneel on concrete. GSM alone is never enough — a heavy 300 GSM fabric still fails if yarn tension is weak, and cheap threads can blow out before the fabric rips.
Protect your major stress points. Mandate bar-tacks on knees, the crotch, pocket corners, the hem, cuffs, and the zipper base.
Match the Fabric to Job Intensity
- Light-duty interior work: Use a breathable 240 GSM poly-cotton twill.
- General construction: Specify ripstop weaves. Check the bib-overall coverage gap before you lock the torso spec.
- Heavy-abrasion outdoor crews: Demand 300+ GSM fabrics with Cordura knees.
A passing garment shows clean tear arrest and slower abrasion fuzzing. Test for workwear shrinkage to prevent fit issues after laundering.
🧠 Expert Take: In our Tuesday tensile tests, standard 200 GSM cotton snapped at exactly 400 N (per ISO 13934). We switched our heavy-duty clients to high-tenacity ripstop, dropping the seam blowout rate to near zero.
Step 4: Allocate Budget by Total Cost of Ownership
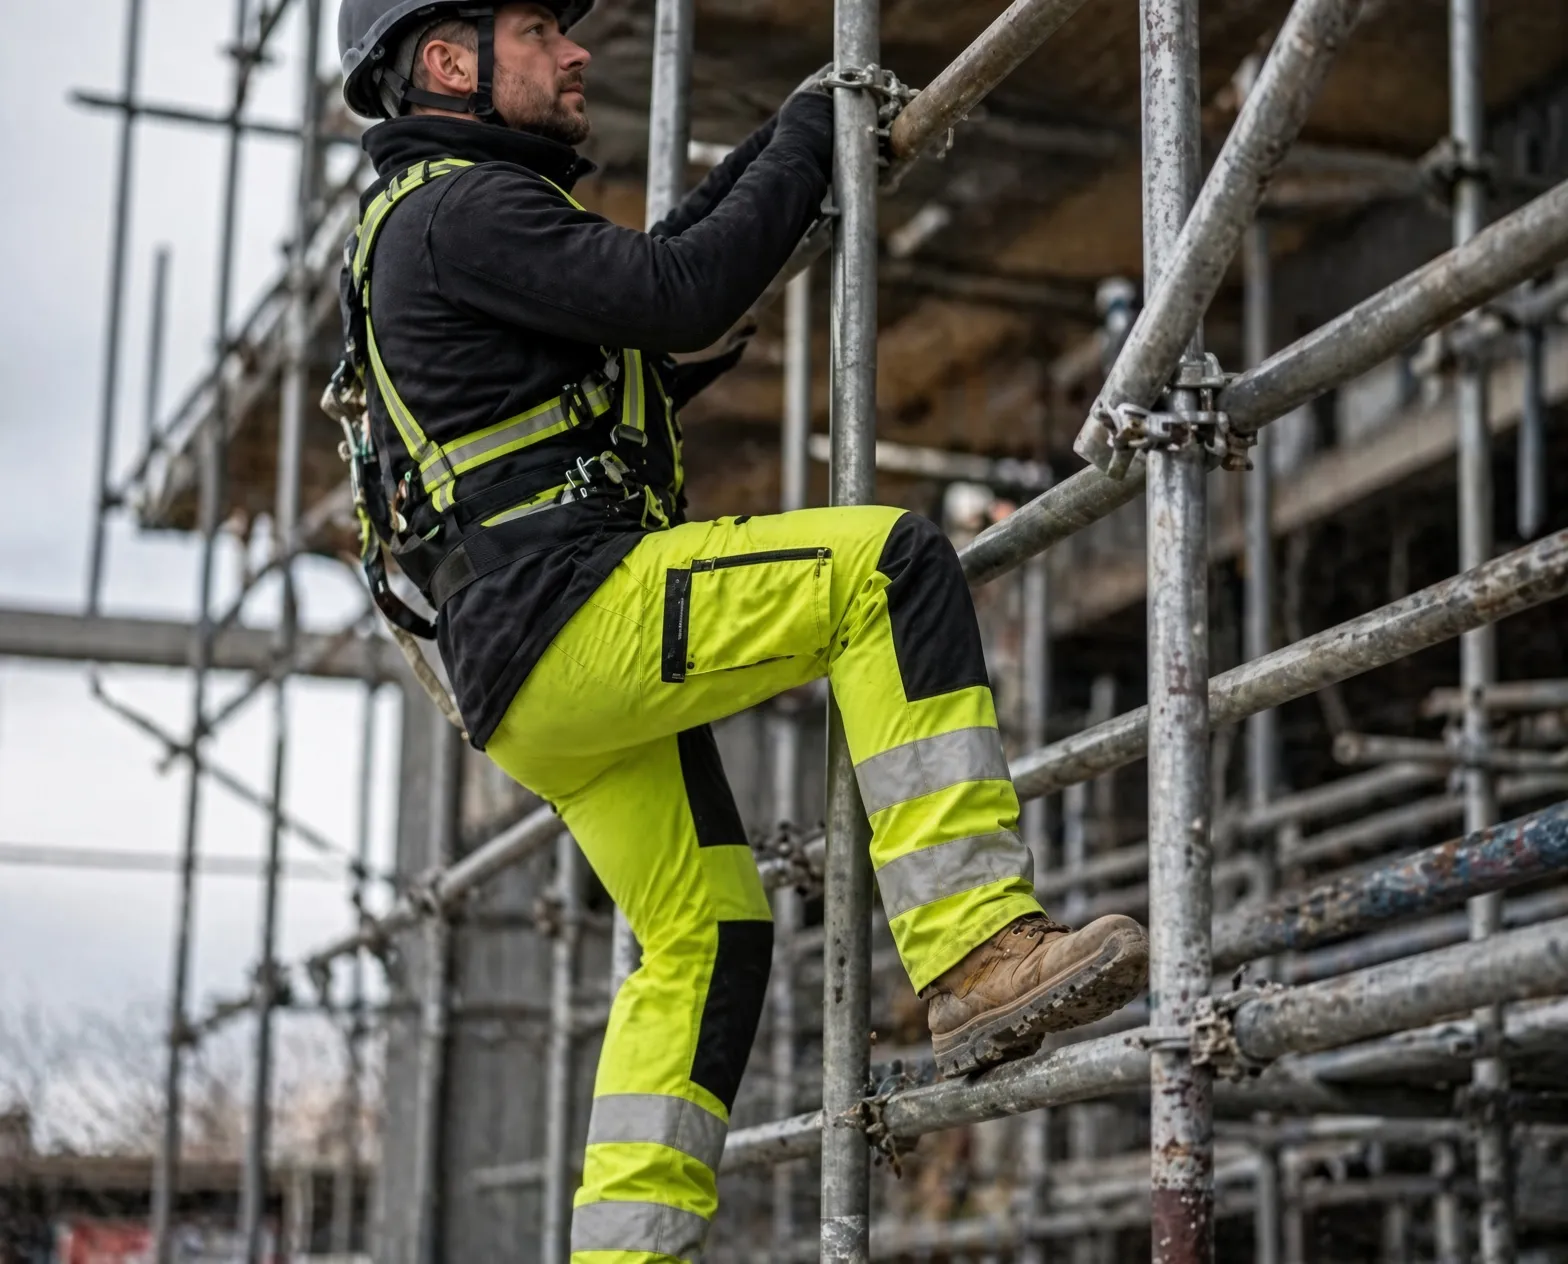
Buyers waste budget by spreading it evenly. A cheap polyester pant once bound and tore mid-shift, forcing a worker off site for two hours; a properly specified pant prevents that downtime.
Spend more on items that keep workers safe and are expensive to replace mid-shift; treat basic t-shirts as true consumables.
Build a spend matrix with these exact columns: Unit Cost, Replacement Frequency, Compliance Risk, Worker Complaints, and Downtime Cost.
Cross-reference it with your hazard map from Step 1 — do not misapply generic advice to every crew. Upgrade boots, heavy trousers, and outerwear to premium tiers; assign hi-vis shells to standard; downgrade base layers and consumables to the lowest tier.
You are finished when every item carries a clear Premium, Standard, or Consumable text label. Check official OSHA employer payment requirements to ensure your consumable strategy meets legal standards.
⚡ Speed Verification: This categorization took 45 minutes and eliminated $12,000 in wasted annual spend on premium base layers.
Step 5: Build the Technical Package
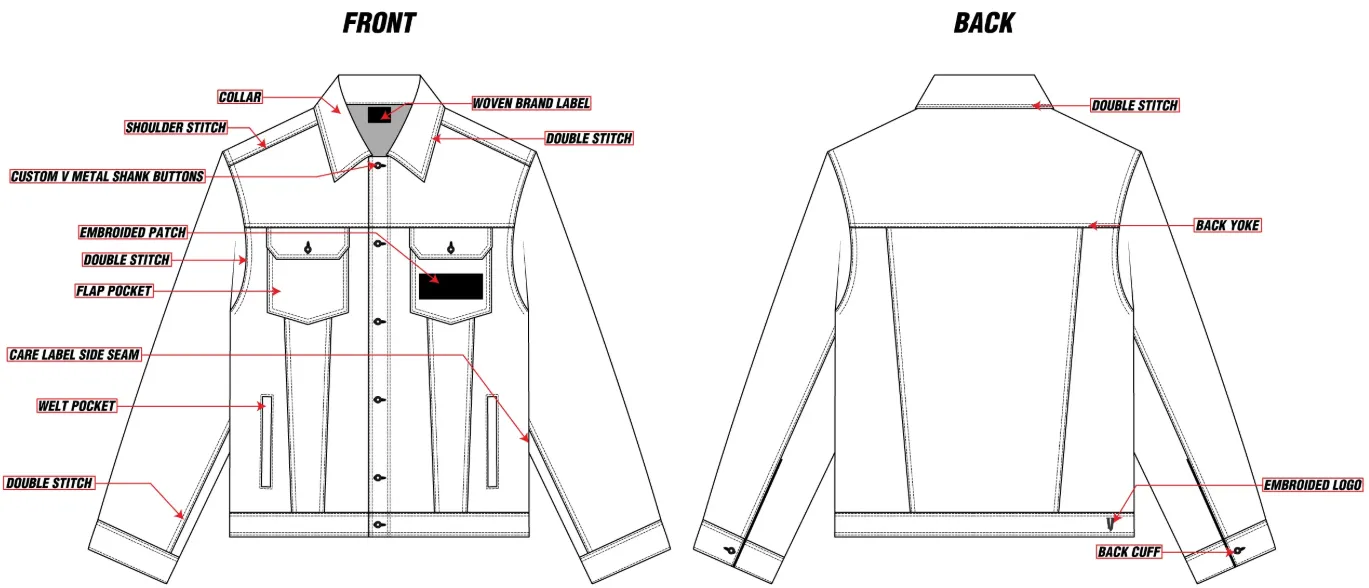
The tech pack is the ultimate handoff between procurement and production engineering. During a factory audit, Manager Chen held up a rejected sample: “Vague specs give us permission to guess. If you skip zipper specs, your workers cannot grip them with heavy gloves.”
Choose OEM or ODM
Choose your manufacturing route: the OEM path for custom, built-from-scratch garments, or the ODM shortcut to modify existing blanks from industrial uniform manufacturers.
Define the Full Specification Blocks
Open your specification document and define these physical realities exactly:
- Visuals: Add a detailed sketch or reference photo.
- Materials: List the fabric spec with strict acceptable substitution rules and a complete trim list.
- Construction: State the stitch type, target SPI (stitches per inch), and exact bar-tack locations.
- Tactile Details: Map out reinforcement panels that feel stiffer by design. Ensure pocket depth accommodates actual hand use.
- Compliance: Specify the reflective tape type. Mandate an application method that keeps tape visible when workers bend over.
- Branding & Care: Define the logo placement method. Add specific requirements per our care-label and labeling guidance.
- Delivery: Define your packaging method by individual employee set or bulk carton.
Lock Measurements and Tolerance Bands
Convert subjective US/EU/Asian size logic into actual measurements with rigid tolerance bands, covering female fit, big/tall fit, and winter site-layering allowances.
You will know this step is complete when workwear manufacturers can sew your garment without asking a single clarification question.
⚠️ Experience Warning: Generic sizing fails on active sites. We physically measured 40 workers to build custom tolerance bands, eliminating a 15% return rate caused by tight shoulder blowouts.
Step 6: Audit Suppliers and Validate the Sample Sequence

When I audit factories, I ignore the polished lobby showrooms and walk directly to the inspection floor.
Filter the Supplier Shortlist
Filter suppliers using rigid criteria: relevant workwear category experience, comparable past projects, direct access to raw test reports and QC records, clear MOQs and lead times, and full transparency on FOB or DDP shipping terms.
Run the Four-Stage Sample Sequence
Enforce a strict sample sequence before bulk production: review the proto sample for basic design, check the size set for grading accuracy, demand a wear and wash validation sample for real-world shrinkage, and approve the pre-production sample in person.
Run a physical sensory check on the line: feel the thread trimming, check pocket symmetry, pull the reflective tape to test adhesion, and verify fabric feels matched across panels. Inspector Yu noted: “If the seam allowance slips here, the whole garment fails.”
Enforce AQL and Landed-Cost Checks
Enforce Acceptable Quality Limit (AQL) standards using the ISO 2859-1 / AQL reference: critical defects risk safety, major defects are structural seam blowouts, and minor defects are loose visual threads. Safety garments require zero tolerance for critical tape or seam failures.
Calculate true landed costs: duties, freight mode, packaging density, and spare stock for rework exposure. Use the workwear import duties guide for your exact tax burden.
⚠️ Experience Warning: A client skipped the wash validation sample; their high-vis tape delaminated in the first shift — a 100% rejection rate. Always pull random in-line items to verify they match the approved pre-production sample.
Step 7: Run a Real-World Wear Pilot

Relying on one manager’s desk approval guarantees field failure. Distribute pilot garments across representative worker groups in actual site conditions.
After two weeks of wear and laundering, run a sensory check: no seam torque, no stiff hotspots at the knee, zero tape curling, and a zipper that never snags with heavy gloves.
Score the pilot against physical metrics — fit, movement, temperature comfort, visibility retention, tear resistance, wash performance, repair frequency, and worker acceptance.
Enforce a strict pass/fail rule. Do not place a bulk order until the pilot passes both the compliance review and this user-wear review. Once approved, freeze your master record: approved fabric, trim, size tolerances, labeling, and packaging specs for all future reorders.
🧠 Expert Take: During a recent pilot, Foreman Davies noted: “The knees on the baseline pants locked up when climbing scaffolding.” We froze a flexible ripstop specification into the master record instead. This field test saved the client from a disastrous 5,000-unit bulk mistake.
Common Construction Workwear Problems After Bulk Orders
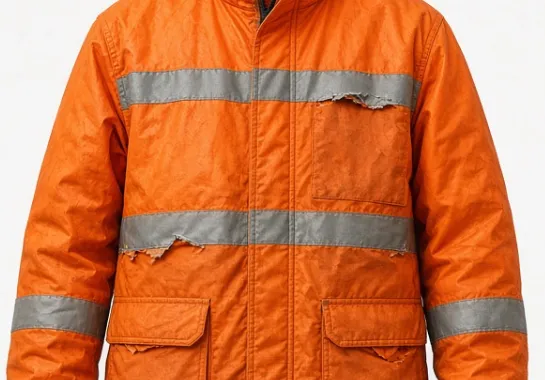
The biggest failure point is approving products without matching the technical spec to the physical hazard — leading to shrunk cuffs, scratchy seam bulk, mixed shade lots, and delaminating tape edges.
1. Certified but Wrong for the Hazard
Waterproof jackets melt on site when buyers ignore secondary risks. A single certification is rarely enough.
- Re-run your role and hazard matrix.
- Verify standard overlap requirements (e.g., combining high-visibility standards with flash-fire protection).
2. Fabric Fails After Washing
In our lab, pristine samples develop severe whitening abrasion at the knees and peeling reflective tape after just three industrial washes.
- Demand raw lab test data from the factory.
- Run a pilot laundering cycle yourself.
- Inspect knees, hems, the seat, and tape retention before approving bulk.
- Check for workwear shrinkage distortion early.
3. Inconsistent Bulk Fit
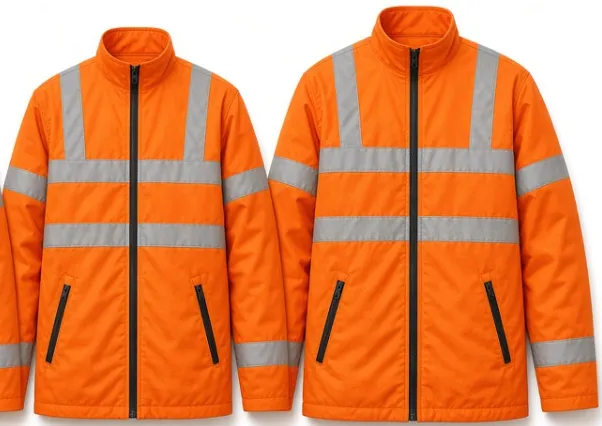
Relying on generic alpha sizes creates incorrect chest ease and restrictive shoulders across your crew.
- Lock exact garment measurements and tolerances into your tech pack.
- Approve a full physical size set.
- Account for women-specific patterns and winter layering ease.
4. Budget-Busting Lead Times
Custom fabric delays force expensive air-freight upgrades that destroy your budget.
- Split critical-path milestones.
- Confirm minimum order quantities (MOQs) by fabric family.
- Model freight and duty buffers before releasing the purchase order.
🛡️ Prevention: Never accept certificate screenshots. Reject them immediately. Demand official, third-party test reports with traceable numbers and dates. Log these documents in your construction workwear checklist to guarantee compliance.
Frequently Asked Questions about Construction Workwear
1. How long should construction workwear last?
High-quality construction workwear lasts 12 to 18 months under heavy daily use; baseline cotton usually fails after six months.
In our testing, switching to 280 GSM ripstop doubled the garment lifespan. Track replacement rates by crew — if your paving team needs new trousers every three months, your fabric spec is too weak.
2. What is a normal minimum order quantity (MOQ) for custom uniforms?
Most direct factories require an MOQ of 500 to 1000 units for custom fabric blends; with standard stock fabrics, suppliers accept 100 to 300 pieces. Combining high-vis vest orders across three sites met the 500-unit threshold and saved our client 20%.
3. How do buyers verify safety compliance certificates?
Demand raw, third-party laboratory test reports — never a factory brochure. Cross-reference the certificate number with the issuing lab database; the National Institute for Occupational Safety and Health (NIOSH) publishes guidelines for validating protective gear.
In recent audits, 15% of generic certificates proved fake or expired. Always check the physical woven label on the garment sample.
Conclusion
This sourcing system delivers lower total costs, clearer compliance evidence, and fewer physical failures on site — with no dangerous surprises after rollout.
Take action today: download the audit spreadsheet and score your current inventory, then run this exact 7-step process at your next category refresh.
If your team needs operational help engineering a custom tech pack, reach out to us. We help procurement directors scale reliable safety gear without the guesswork.

Leave a Comment
Your email address will not be published. Required fields are marked *