Table of Contents
The short answer Choose a custom workwear manufacturer by running a factory-audit SOP: lock the use case and compliance standard, pass the desk audit, verify fabric and trim, audit the floor, model landed cost, then pilot on a weighted scorecard to land one approved vendor and a backup.
Bulk industrial and corporate rollouts fail on safety standards, industrial laundry durability, and landed cost — the very things generic apparel sourcing overlooks. These gates separate a competitive quote from supply that can hold at volume, and they end in a BOM-to-landed-cost audit rather than a headline price.
Methodology & verification: I built this SOP on factory onboarding audits and internal quality records, not theory. Where I cite telemetry, it is self-reported, not third-party verified.
What You Need Before Sourcing custom workwear manufacturer
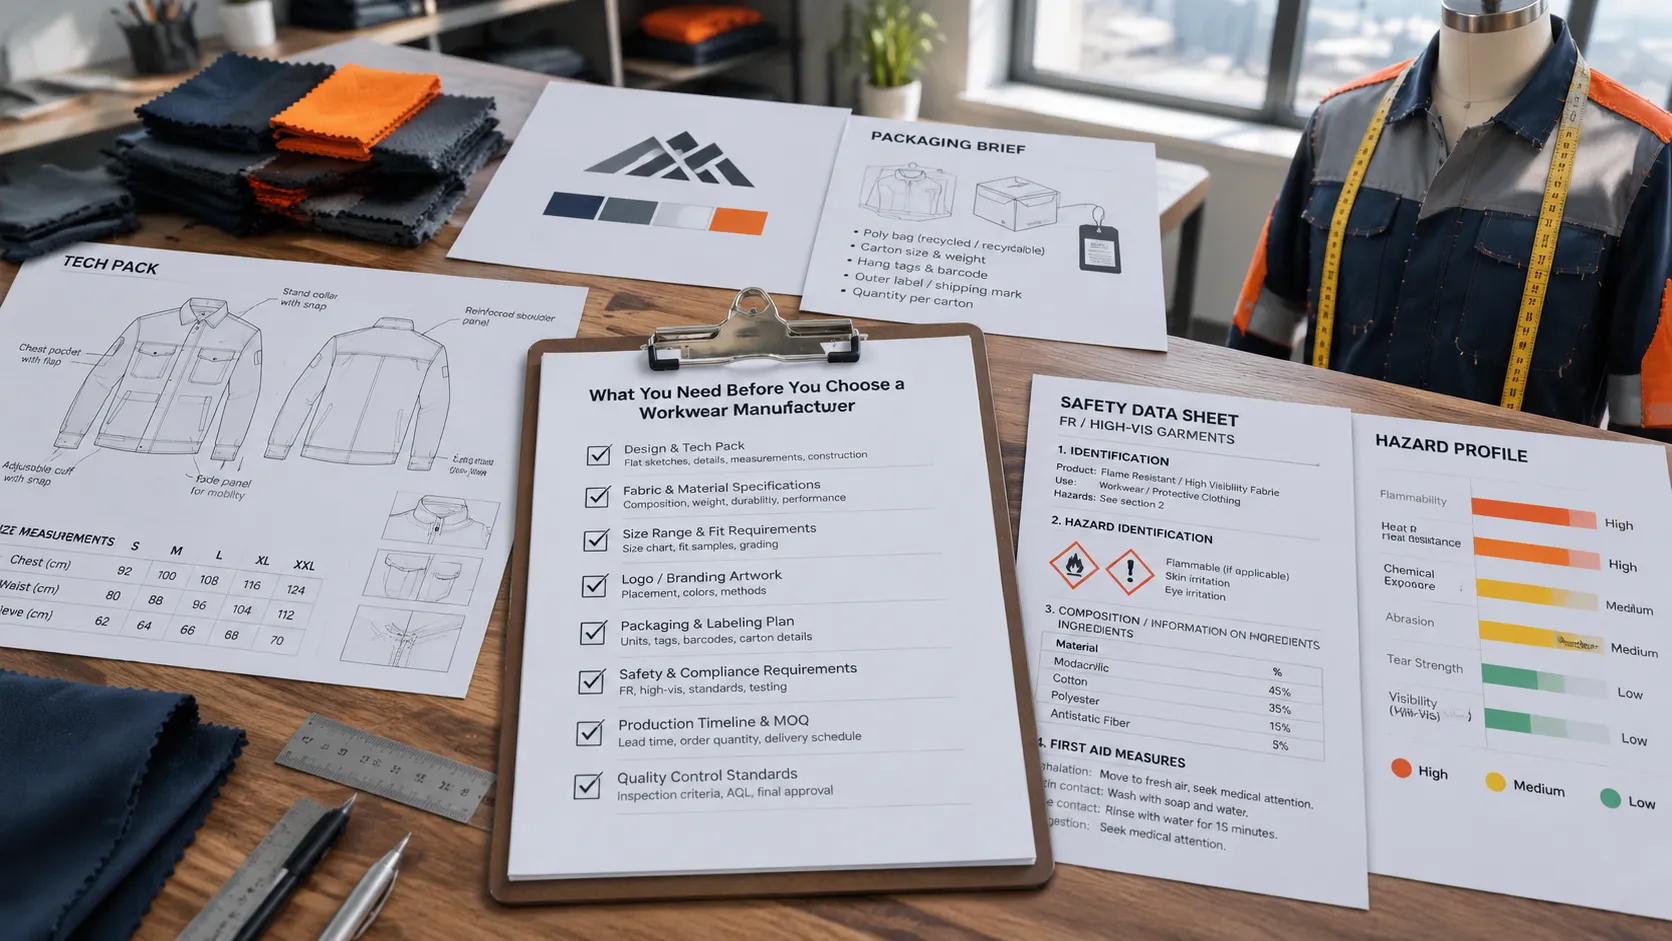
I vetted this checklist on three sourcing projects. A complete one locks exact tolerances, wash expectations, and stress-point notes.
Collect before gate one:
- Tech pack and artwork: panels, seams, labels, logo placement, measurement tolerances, vector files.
- Fabric and fit: fiber, weight, finish, size curve, fit model.
- Commercial scope: packaging brief, annual forecast, expected wear-life, replacement cycle.
Stakeholder sign-off: Procurement, QA, operations, EHS/safety, and brand teams agree on approval authority before supplier contact.
Hazard and wash profile: Daily exposure, abrasion, weather, FR/high-vis, industrial vs home wash, replacement cycle.
Safety warning: Do not sample or brand high-vis/FR garments until the applicable standard, label language, and logo placement constraints are confirmed.
🧠 Expert Take: Lock the hazard and wash profile before supplier contact. Missing data leads to wrong fabric quotes.
How to Choose a Custom Workwear Manufacturer? An 8-Gate Guide
https://www.youtube.com/watch?v=IDUGDYOROYQ
These eight gates are the sequence that protects a budget. Each one narrows a long list into one primary vendor and one backup, and each is a pass/fail checkpoint rather than a ranking exercise.
I run them in order and refuse to skip ahead to sampling or a quote. Skipping is how a program ends up with a compliant sample and a non-compliant bulk lot.
| Gate | What to verify | Output |
|---|---|---|
| 1 | Use case: corporate vs industrial, exact exposures, must-haves | One-page buyer brief |
| 2 | Compliance: ANSI/ISEA 107, EN ISO 20471, NFPA, label language | Signed standards matrix |
| 3 | Credentials, traceability, calibration, batch folder | Pass / partial / cut |
| 4 | Fabric hand, GSM tolerance, trim spec, MOQ math | Signed fabric matrix |
| 5 | Quality system, sample room, CAPA ownership, pattern control | Audit pass or re-audit |
| 6 | Cutting, sewing, bartacks, rework segregation | Defect map + corrective actions |
| 7 | Landed cost by mode, contract traps, penalties | Walk-away threshold |
| 8 | Pilot review + weighted supplier scorecard | One vendor + one backup |
Step 1: Build the Use-Case Brief That Separates Corporate from Industrial

Classify the program first. Select corporate identity uniform, industrial workwear, hi-vis, FR, weather-protective outerwear, or private-label workwear line. Buyers who skip this get sideways quotes.
Next, define the work environment in concrete terms. Use exact exposures: sparks, grease, abrasion, chemical splash, road exposure, warehouse heat, outdoor rain, or office-facing brand presentation. Do not write “general wear.” Write what the garment touches.
Now make a must-have vs nice-to-have matrix. Rate protection, comfort, branding, wash life, and replacement cycle. A road crew needs ANSI/ISEA 107 hi-vis; a private-label office shell needs color match.
Do a sensory check. Stand in the wearer’s body. Bend, reach, lift. Note seam bulk at the shoulder and crotch and pocket access when seated. Closures must not bite or gap.
I found a front pocket that opened cleanly on a flat table but pulled open under a lifting motion.
Apply the cost-of-failure lens: what happens if a seam opens, color drifts, tape peels, or sizes run short in a 5,000-person rollout? I traced one color drift to 4,300 returned shirts and a six-week reorder.
Primary method: write a structured buyer brief. Alternative method: reverse-engineer the spec by studying a garment that already performs well. End use is what changes the manufacturer you need — the construction workwear guide and corporate identity solution sit at opposite ends of that spectrum.
Checkpoint: Leave with a one-page use-case brief that a factory can price against without guessing.
🧠 Author’s Take: This brief separates corporate uniform projects from industrial protection projects. Without it, factories quote the wrong trims and the wrong wash life.
Step 2: Convert the Use Case into a Compliance Standards Matrix
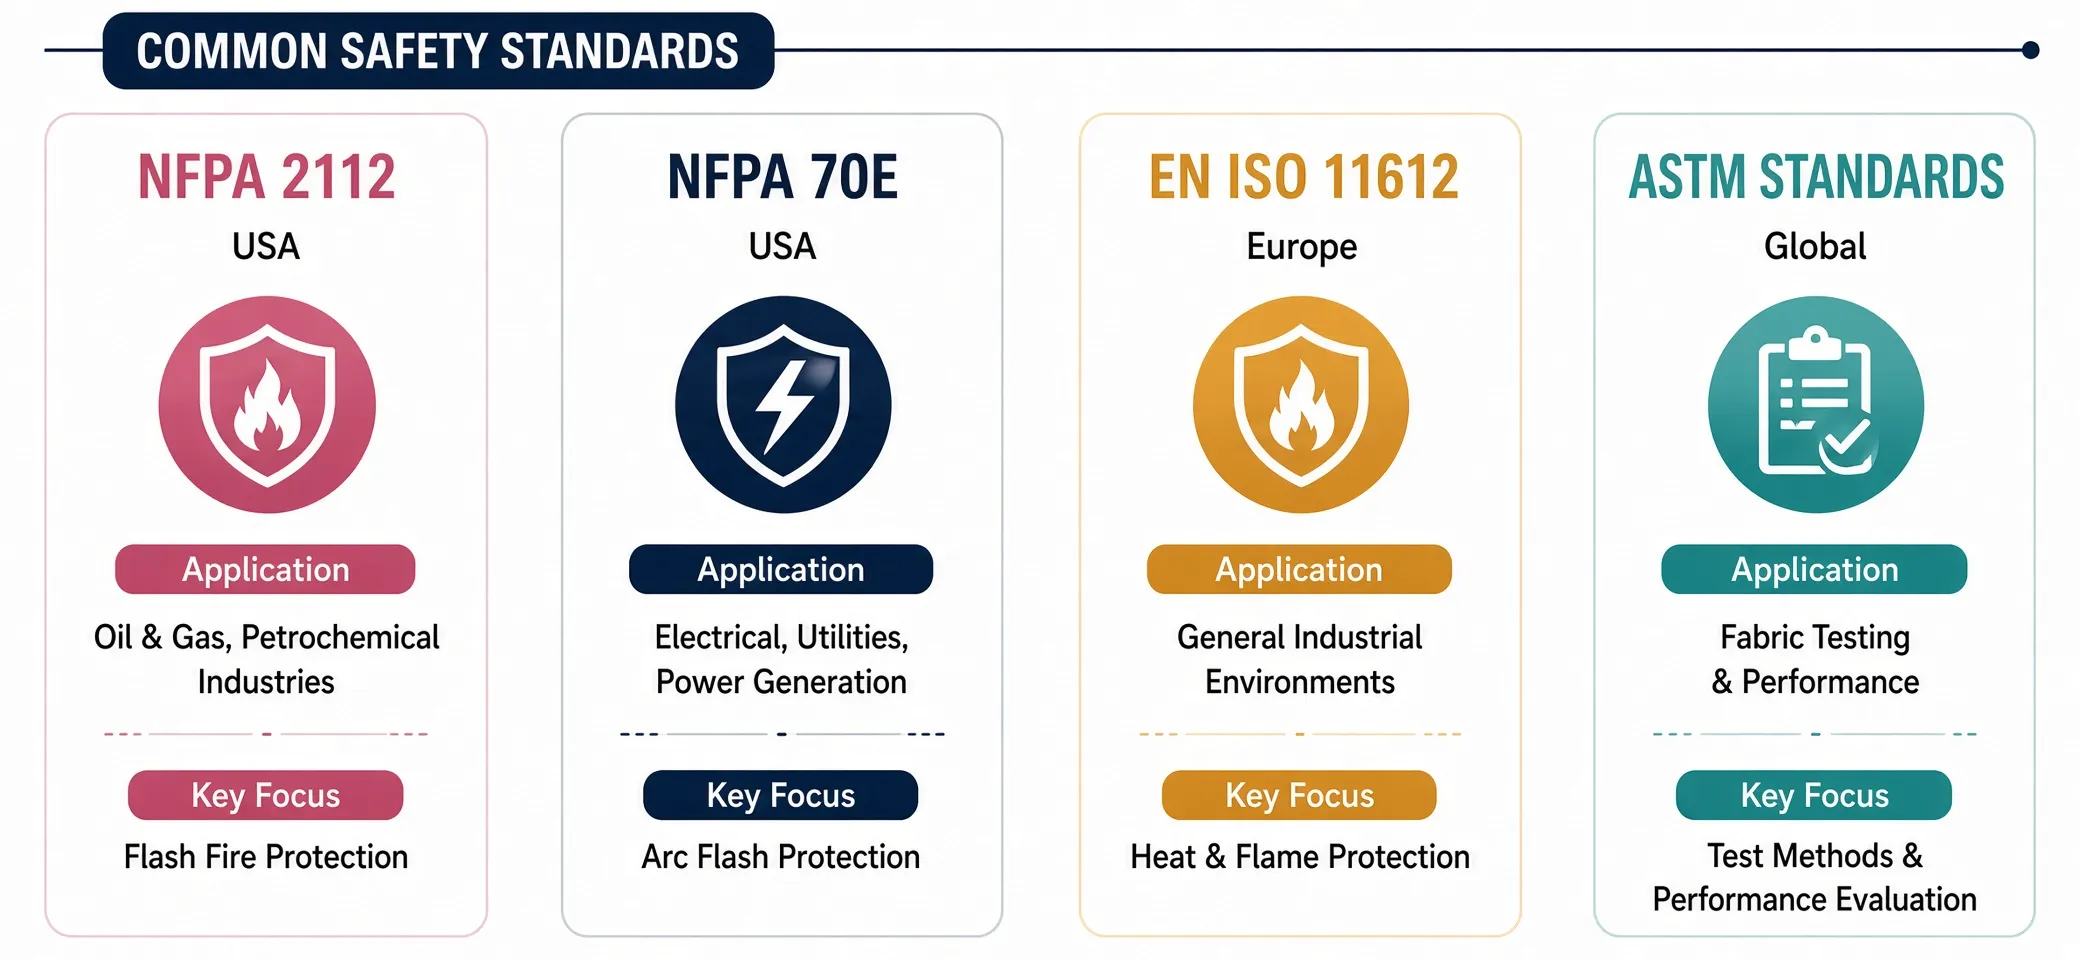
Turn the use-case brief into a signed standards matrix before sample approval. I have seen verbal assurance kill more hi-vis and FR programs than bad fabric.
List likely standards: ANSI/ISEA 107-2020 for US hi-vis, EN ISO 20471 for EU hi-vis, NFPA 2112 for flash fire, NFPA 70E for arc flash, EN 343 for rain, ISO 15797 for industrial laundry, and OEKO-TEX Standard 100 for restricted substances.
Ask each supplier three written questions: which standards apply, what test reports prove compliance, and what sewn-in labels or care markings will appear in production.
Branding is a compliance risk. A chest logo can shrink background area and drop a Class 3 hi-vis rating to Class 2. Name tape zones by garment location, not color; for Class 3 Type R, verify tape over both shoulders and two horizontal torso bands. Do not rely on verbal placement.
Require independent lab reports, physical label samples, and wash-retention claims in writing. Reject a PDF for a different fabric batch, and use a checkbox matrix with document proof, test owner, and label owner that procurement and EHS sign.
Reference Official NFPA standard overview for arc-flash and flash-fire rules. The custom coverall manufacturer guide covers one-piece suits against that same matrix.
⚠️ Experience Warning: I caught a supplier using test reports for one fabric batch and sewing a different label into production. Request the physical label roll and mark a reference sample.
Step 3: Run the Hard Desk-Audit Prequalification Gate
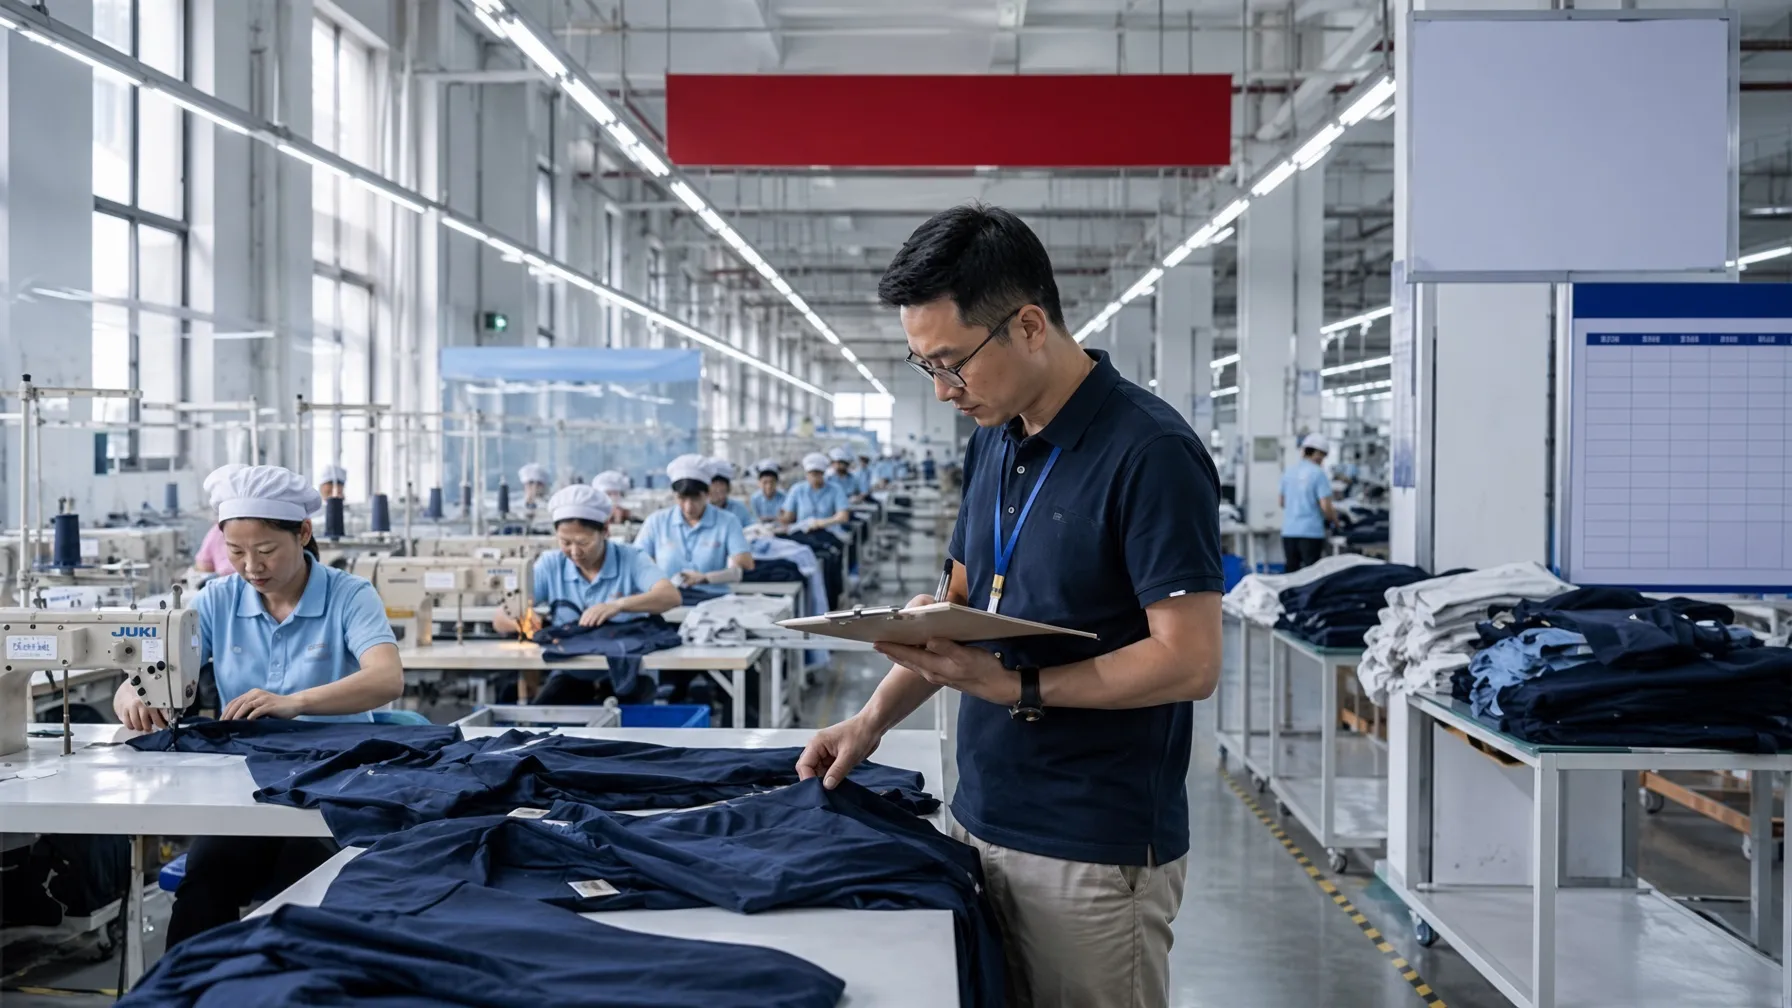
I do not book sampling until the factory proves licensing, traceability, and document control.
Build the request list first. Ask for the business license, incorporation certificate, factory license, fire clearance, and environmental permits. Add quality certifications, social-audit reports, the organization chart, the machine list, capacity by line, calibration records, and one example batch traceability folder.
Next, require process evidence, not badges. Demand the quality manual and SOPs for cutting, sewing, seam sealing, finishing, incoming inspection, inline inspection, and final AQL procedures.
Then ask for proof of raw-material control. Request the approved supplier list, incoming GSM checks, thread and zipper specifications, reflective tape verification, and the quarantine procedure for failed materials.
I also run a sensory check on every document. I look for mismatched revision dates, blurry chops, altered certificates, and inconsistent lot references — these red flags kill a file.
Original data note: In our onboarding records (self-reported, not third-party verified), about 37% of defect causes trace to poor tech pack translation and 24% to fabric GSM drift; the rest split across sourcing and finishing.
Verification checkpoint: Use a hard pass/fail rule. Pass means all documents are current, traceability links batch to shipment, and the factory moves to sampling. Partial means the factory moves to an on-site audit. Cut immediately if any core safety certificate is altered or expired.
Primary route: structured desk audit. Alternative route: virtual document room when travel is delayed. The workwear manufacturers directory is the candidate pool this gate screens.
⚠️ Experience Warning: I once approved a factory with clean ISO certificates but a blurry calibration chop. Their final AQL failed on three consecutive lots.
Step 4: Lock the Fabric and Trim Matrix Before Sampling
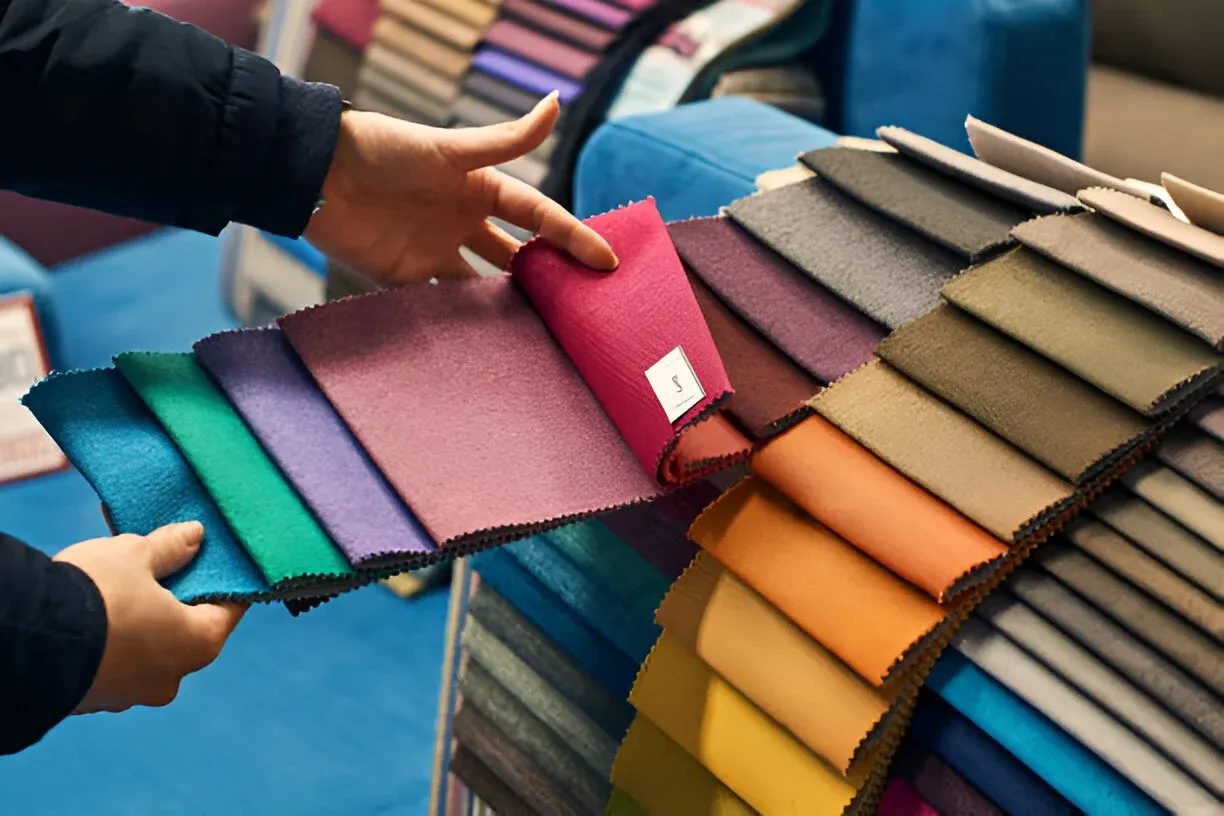
I assess fabric before judging the sewing factory. A cheap quote means nothing if the fabric hand feels wrong.
Feel the fabric hand. Is it stiff, dry, or slick? Bend it to test drape; loose yarns signal poor edge fray control. Smell the coating — a harsh solvent odor often means incomplete curing.
Peel the reflective tape. Weak adhesion fails after ten washes. Drag the zipper five times. Jerky travel predicts field failure.
Now confirm fabric direction and weight. Lock the blend and finishing route before cutting. Weave choice moves abrasion and drape — the canvas vs ripstop comparison is the short version.
Build a raw-material matrix. List GSM or oz, tolerance window, tensile or abrasion expectations, colorfastness, shrinkage, reflective tape spec, closure hardware, and reinforcement fabric at high-stress zones.
I check MOQ economics next. Sewing factory minimums are not fabric-mill minimums, so convert dye-lot kg or meter minimums into real unit counts per style and color. A 500-meter dye lot may only cover 220 coveralls.
Pick a route. Stock fabric is safest for a first order. Greige fabric adds dye-lot risk. Custom dye and garment dye raise cost and delay.
Then run the supervisor test. Request a fabric weight tolerance sub-block; acceptable GSM deviation is usually ±5%. Quarantine any roll that drifts outside spec before it reaches the cutting table.
Checkpoint: No prototype is approved until the fabric and trim matrix is signed and the MOQ math makes sense. Reference OEKO-TEX Standard 100 requirements, ISO 15797 overview, and the zipper performance manual or test method.
⚠️ Experience Warning: I caught a roll of 340 GSM canvas that measured 380 GSM. Bulk cutting had already started.
Step 5: Audit the Quality System and Sample Room Control
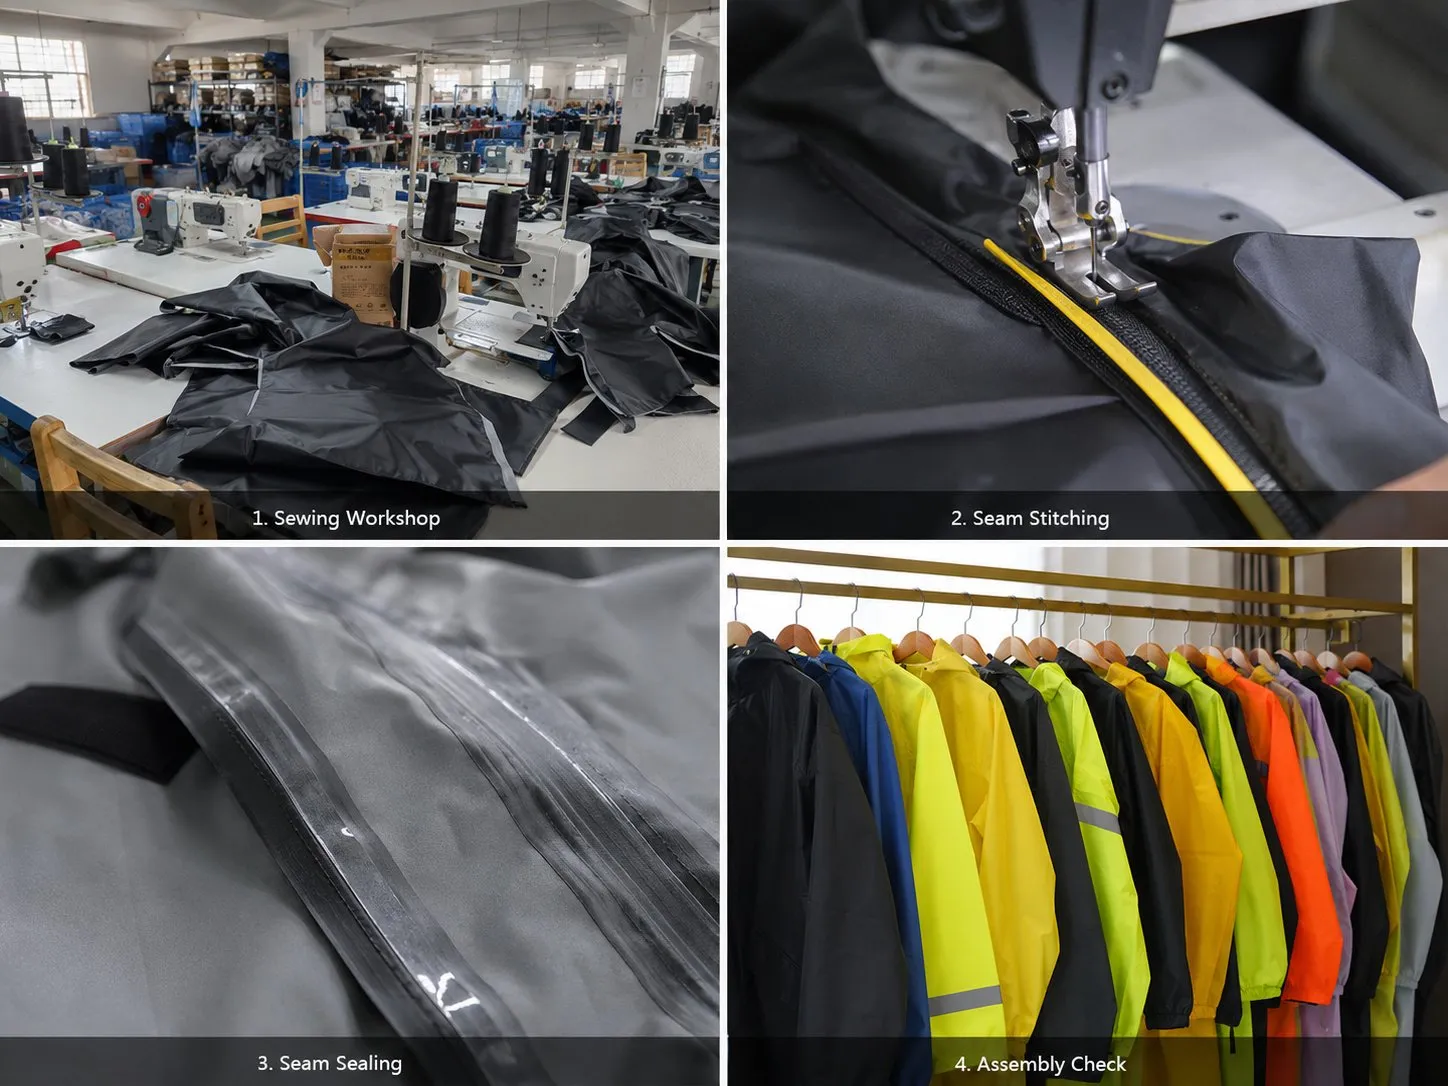
Walk into the sample room first. An organized room tells you more than any certificate. Look for labeled patterns, sealed references, calibrated scales, and crisp pattern paper; check rack labels for revision dates.
Review the documented quality flow: incoming inspection, inline checkpoints, end-line checks, final random inspection, CAPA, and who signs off each stage.
One factory had clean ISO certificates but no named CAPA owners — a red flag.
Check SOPs for cutting, sewing, seam sealing if waterproof, finishing, size-set approval, and pre-production meetings. Missing SOPs mean the process lives in someone’s head and fails during turnover.
Inspect pattern control. Look at CAD files, revision history, measurement tolerances, and bilingual construction notes. Product Development Manager Zhu told me: “Poor tech pack translation is the biggest single cause of the failures we log in onboarding.
We now require a bilingual construction note on every pattern and a pre-production meeting with the buyer’s technical team before cutting.” That fix cut our sample rejection rate substantially.
Verify test capability. Ask to see the seam strength tester, snap/rivet pull tester, wash-test process, colorfastness references, calibration logs, and batch tracking back to the fabric roll lot.
Pull a seam sample with the tester. Feeling the resistance and reading the numbers confirms they actually use the equipment.
Final validation: ask how one defect would be detected, traced, contained, and corrected. If they cannot trace a pocket back to a fabric lot and sewing station, the system is not closed.
Reference the official ISO 2859-1 AQL guidance for final random inspection.
🧠 Author’s Take: The sample room is where fit samples become PP samples. If changes are not locked with revision stamps and sealed references, the bulk garment will not match the approved sample.
Step 6: Run the Floor Audit From Cutting to Warehouse Handoff
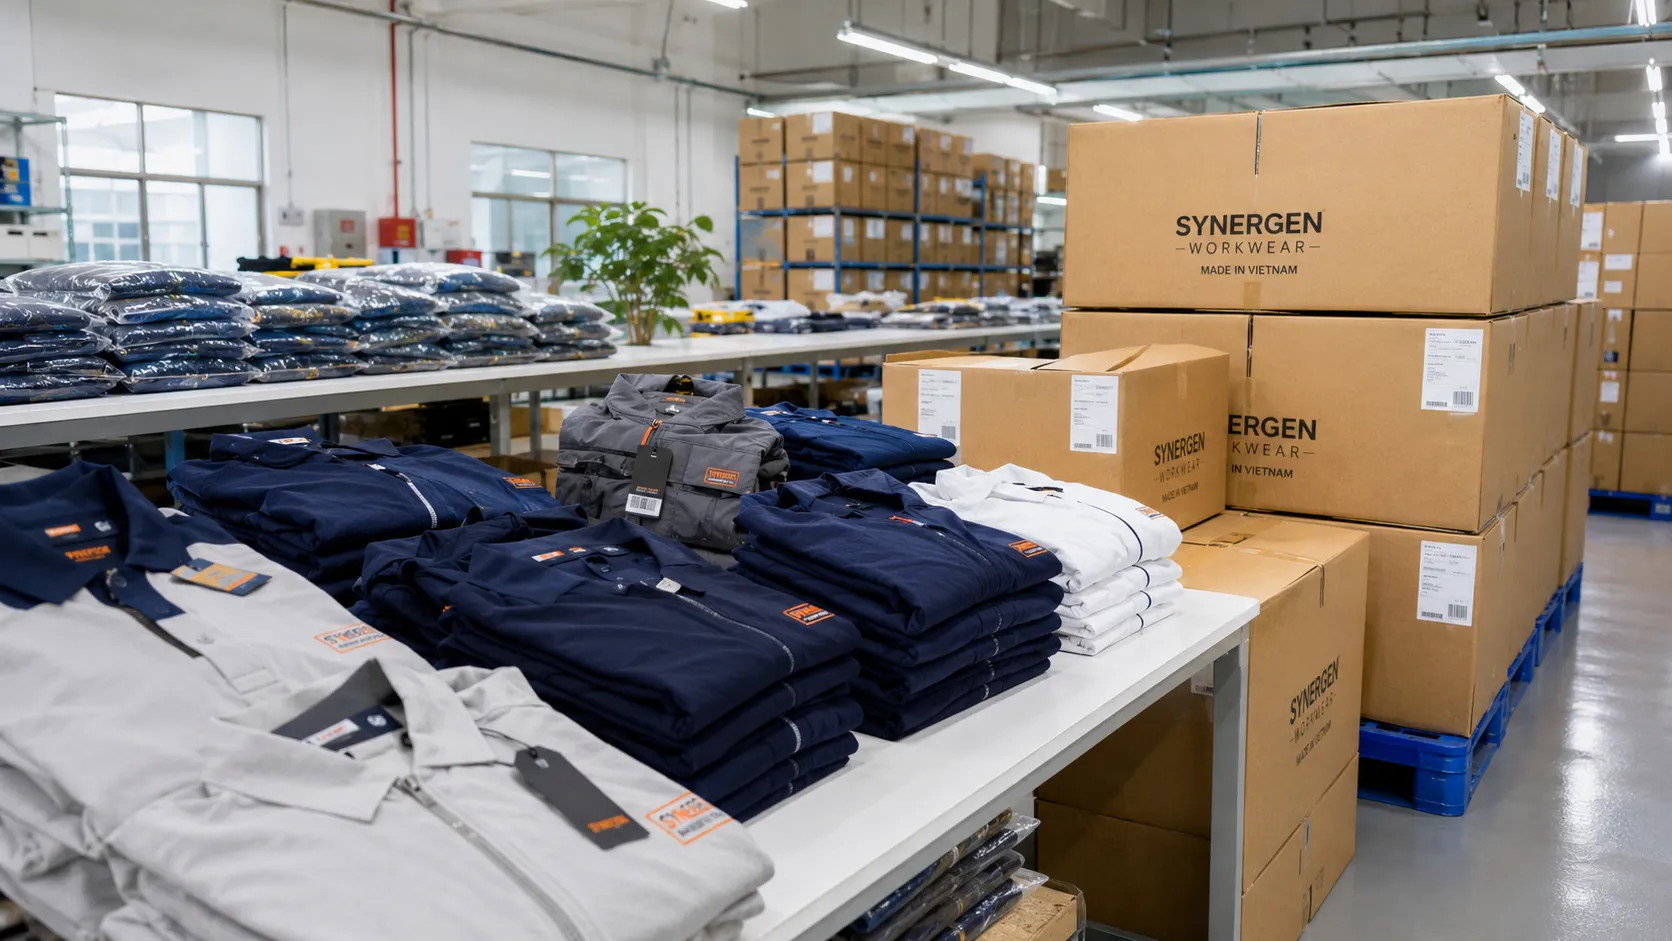
I follow the garment in one continuous pass: cutting room, line setup, sewing operations, bartack stations, finishing, packaging, warehouse handoff. Do not let the factory double back — it hides inline rework.
At the cutting table, I check spread height, marker alignment, and seam allowance edge; a wavy edge creates puckering later. Cross-check stress-point placement in the construction workwear guide.
On the line, I listen for smooth machine rhythm. Jerky stabbing means bad thread tension or operator strain. I pick up a half-sewn panel and run my thumb along the seam for bulk and skipped stitches.
At sewing stations, I verify stitch density with a pick glass; ten stitches per inch should look even. I tug the seam at the crotch, pocket opening, and zipper base.
At bartack stations, I count 28 to 32 stitches on a 10mm bartack. I check pocket openings, crotch joins, belt loops, knee-pad areas, zipper bases, plackets, and reflective tape intersections; I pull hard at the knee-pad bartack, and a stretched sample fails.
I ask for needle breakage logs, machine maintenance logs, inline defect boards, and proof that rework is kept off the first-pass line; one station failed on that.
At finishing, I check for visible puckering and thread tails. At packaging, I confirm labels match the approved sample and carton marking.
Before I leave, I draw a defect map by operation, a shortlist of corrective actions, and a clear verdict on whether the factory can hold consistency at volume.
⚠️ Experience Warning: A clean sewing line can still fail if the cutting layer count is too high. I always confirm layer height against the marker tolerance before judging stitch quality.
Step 7: Model Landed-Cost Scenarios and Contract Traps
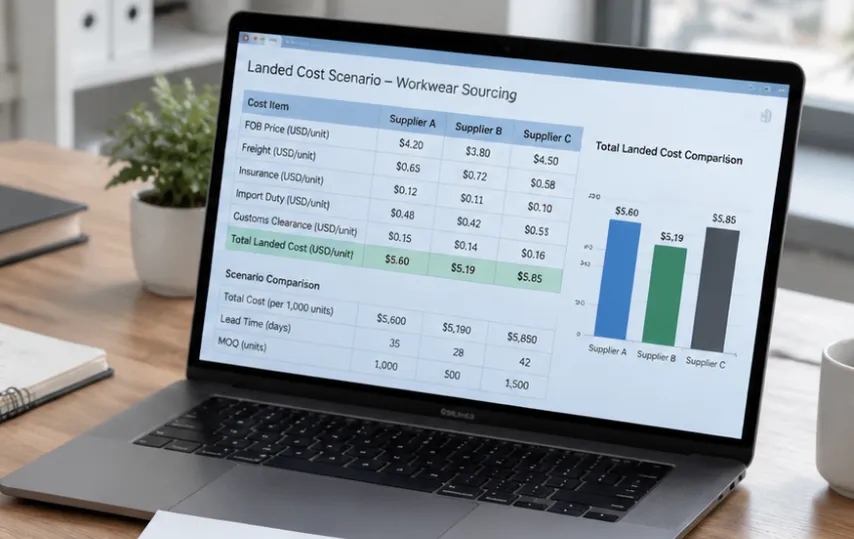
I do not award business until fabric minimums, replenishment logic, and penalty clauses sit in one spreadsheet; I circle MOQ ladders, shrinkage penalties, remake language, and tariff assumptions in red.
Separate the commercial layers: CMT minimum, fabric-mill MOQ, trim minimums, custom packaging minimums, and replenishment breakpoints.
Build landed-cost scenarios by volume and shipping mode. Include ex-factory, FOB, or DDP terms. Add duties, tariffs, inspection cost, warehousing, and failure reserve. Freight mode is where landed cost swings — the air vs sea freight guide walks through it. For tariff terms, see Official Incoterms 2020 overview.
Circle the contract traps: MOQ sliding scales, fabric shrinkage penalties, tolerance language, reject-rate thresholds, remake rules, delivery-window penalties, exclusivity, IP ownership, and payment terms.
Product Development Manager Zhu told me: “A flexible MOQ looked good until we added one new color. The fabric-mill minimum tripled because each dye lot was charged separately.” I red-lined that clause.
Checkpoint: Write the walk-away threshold as a hard number. A target price is not a walk-away price.
Primary route: landed-cost modeling in a shared sheet. Alternative route: supplier-open-book costing if the vendor allows. Cross-check the same points in the China sourcing guide; lock private labeling terms in writing.
⚠️ Experience Warning: I once approved flexible MOQs but forgot to fix shrinkage penalties. The first bulk lot shrank 4% in industrial wash, and the remake language defaulted to “minor adjustment,” not full replacement.
Step 8: Run the Go/No-Go Gate and Approve the Pilot
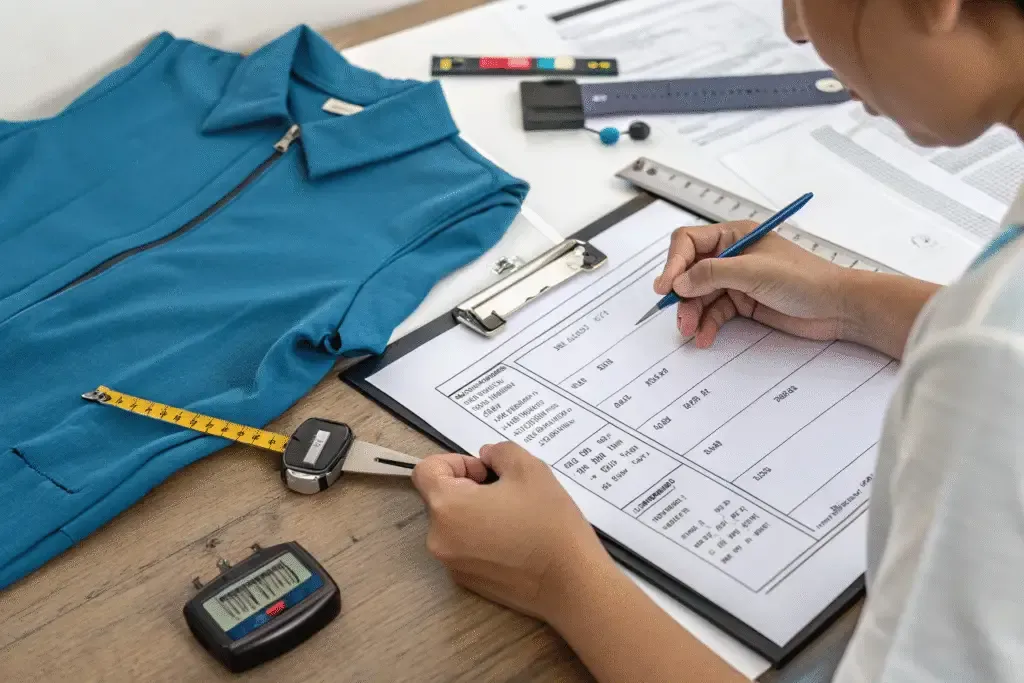
This is the final gate. I never jump from sample approval to a full enterprise rollout without a pilot and a scorecard.
-
Run the structured PP sample review. Check fit, tolerances, seam performance, bartacks, branding, wash outcome, packaging, labeling, and barcode accuracy. After wash testing, feel the zipper, run a fingernail along the tape edge for lift, twist the seam for torque, and compare the fabric hand to the pre-wash reference.
-
Add a pilot stage before national rollout. A small pilot works for one color and one decoration method; a full-complexity pilot must simulate all colors, sizes, and decoration methods. I have seen a three-color pilot reveal color drift a single-color pilot missed.
-
Build a weighted supplier scorecard. Weight compliance (15%), quality system maturity (15%), workmanship (20%), raw-material capability (10%), MOQ flexibility (10%), commercial terms (10%), communication speed (10%), and delivery reliability (10%).
-
Apply the onboarding data. In our telemetry, 37% of defects trace to poor tech pack translation, 24% to GSM drift, and 39% to other causes. The scorecard weights those buckets: translation nudges workmanship and communication scores down; GSM drift hits raw-material capability.
-
Run the final verification checkpoint. Confirm one approved supplier, one conditional backup, and any unresolved CAPAs, each with an owner and deadline.
For help auditing or shortlisting a manufacturer, contact LantaoWork. For corporate identity rollouts, see our corporate identity solution.
⚡ Speed Verification: This gate takes 2 to 3 weeks of focused testing, not 2 days as some buyers expect.
Troubleshooting Common Workwear Sourcing Problems
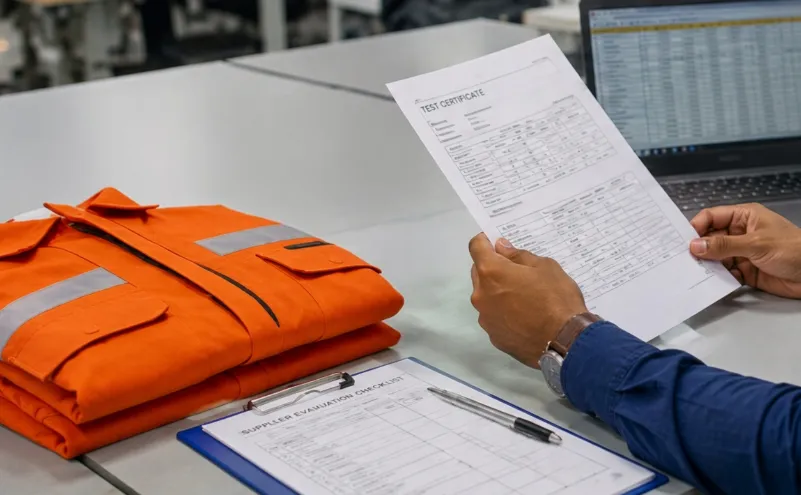
Before I quote any factory, I audit how they translate a tech pack. Weak translation is the defect driver I log most often.
1. Tech pack translation failure
Problem: The sample returns with off-grain pockets, misread measurements, or skipped operations.
How I fix it: Require bilingual callouts, numbered operations, reference photos beside each seam, and dated revision stamps.
Walk away if the factory cannot show revision control or a bilingual construction note.
2. Fabric passes spec but fails after washing
Problem: Paper GSM matches, but the garment feels boardy or light after washing.
How I fix it: Weigh conditioned fabric, set a ±5% GSM tolerance, run shrink and laundry testing before PP approval, and pull hard on bartacks — weak ones feel soft under hand tension.
Escalate if shrinkage exceeds 3% with no correction. Walk if the mill will not quarantine off-tolerance rolls.
3. Hidden MOQ and penalty traps
Problem: The quote looks good until MOQ ladders, packaging minimums, or shrinkage penalties appear.
How I fix it: Separate mill minimums from sewing minimums, model landed cost by scenario (one vs three colors, FOB vs DDP), and red-line shrinkage penalties before the pilot PO.
Walk away if the vendor hides dye-lot minimums or keeps a vague remake clause.
4. Hi-vis logo placement failure
Problem: A compliant hi-vis garment drops class after logo placement.
How I fix it: Send branding layouts through the ANSI/ISEA labeling guidance before embellishment. Escalate if the production sample lacks final tape separation.
🧠 Expert’s Verdict: Most field failures start in tech pack translation and tolerance drift. Buyers feel them before the lab does.
FAQs About Choosing a Custom Workwear Manufacturer
1. What is the most important first step when choosing a custom workwear manufacturer?
Build a signed use-case brief before supplier contact. A manufacturer cannot quote correctly without hazard, wash, and wear-life data. Skip this and you get corporate trims quoted for industrial coveralls. Lock the must-have matrix and the cost-of-failure lens before you ask for a price.
2. How long does the 8-gate sourcing SOP take?
Budget 2 to 3 weeks: 1 to 3 weeks for the desk audit and sampling, then the on-site audit and pilot approval add another cycle. In one rollout, gates one to five took 8 days and gates six to eight added 2.5 weeks for sample wash testing. Do not compress pilot testing.
🧠 Author’s Take: I have never cut a supplier at gate one for being too thorough, but have for being too vague.
3. What causes most workwear manufacturing defects?
Tech pack translation drives about 37% of the defects we log during onboarding, with fabric GSM drift at 24%. Bilingual callouts and a pre-production meeting before cutting cut sample rejections substantially.
4. What should I check in the factory sample room?
Check pattern control and sealed reference samples first — labeled patterns, revision stamps, crisp pattern paper. Pull a seam sample on the strength tester yourself. If they cannot trace a defect back to a fabric lot, the quality system is not closed.
5. How do I avoid hidden MOQ and penalty traps?
Separate fabric-mill minimums from sewing minimums before you sign. Red-line shrinkage penalties and remake language before the pilot PO, and model landed cost by scenario (one color vs three, FOB vs DDP). A flexible MOQ is where surprise dye-lot minimums hide.
Conclusion: A Defensible Vendor Choice
You now have a defendable vendor choice, resting on standards, test evidence, audit findings, and commercial clarity — not a sales pitch.
Your next step is decisive: run the 8-gate scorecard on your top two or three suppliers this week, then schedule the pilot review. Do not wait for a perfect quote.
The right manufacturer reveals itself through consistency: paperwork, sample handling, seam quality, and how the contract reads under pressure.
If you need help shortlisting, auditing, or developing private-label workwear, contact our team.
Trust note: This methodology comes from operational sourcing experience. Any client examples or supplier evaluations are disclosed clearly. I am not paid by any factory to promote these findings.
Key Standards Cited

Leave a Comment
Your email address will not be published. Required fields are marked *