Table of Contents
Fit drift is a systems problem, not a sewing defect. I built this repeatable cut and sew uniform manufacturing workflow to improve fit consistency after auditing fit approvals, wash testing, measurement audits, and bulk QC checkpoints at LantaoWork.
The step-by-step SOP fixes specification, material, grading, cutting, construction, and QC in that order for schoolwear, workwear, and corporate uniforms.
Good consistency means flat collars, matching inseams, and no puckering after pressing. Most fit failures trace to weak specs and skipped grading checks — this process needs preproduction discipline, not a better sewing line.
Methodology: I traced fit failures using ISO 9001 corrective-action principles. Start at the spec sheet.
What You Need Before You Start
https://www.youtube.com/watch?v=eSLNjwDCWA8
Estimated time: 3–5 business days for preproduction approvals.
We vetted this list on schoolwear and FR workwear runs. Required items:
- Approved reference garment or golden sample: Physically handle and inspect it. Do not approve from spreadsheets alone.
- Size curve/history by wearer group
- Return/alteration data from prior runs
- BOM, fabric composition, trim list, and branding files
- Target wash environment: home wash vs industrial laundering
- Destination-market compliance targets: For skin-contact schoolwear, see OEKO-TEX Standard 100 requirements and CPSIA children’s apparel compliance guidance. For FR/hi-vis, see NFPA 2112 certification guidance and ANSI/ISEA 107 overview.
- Tech pack owner and one decision-maker for approvals: Use one source of truth for measurements.
- Uniform Compliance & Testing Checklist: Gate each approval against the same pass/fail log used for Canadian and European audits.
⚠️ Safety First: Never approve kids’ uniforms without skin-safety and dye checks, or FR/hi-vis garments without market-specific certification review. This gate applies to cut and sew and private labeling jobs.
How to Build a Repeatable Cut and Sew Uniform Manufacturing Workflow in 6 Steps?
These six gates run in a fixed order: spec, fabric, grading, cutting, construction, and final verification. Approve each one before the next starts — skip a gate and fit drift returns.
Step 1: Turn the Uniform Concept into a Production-Ready Spec Package
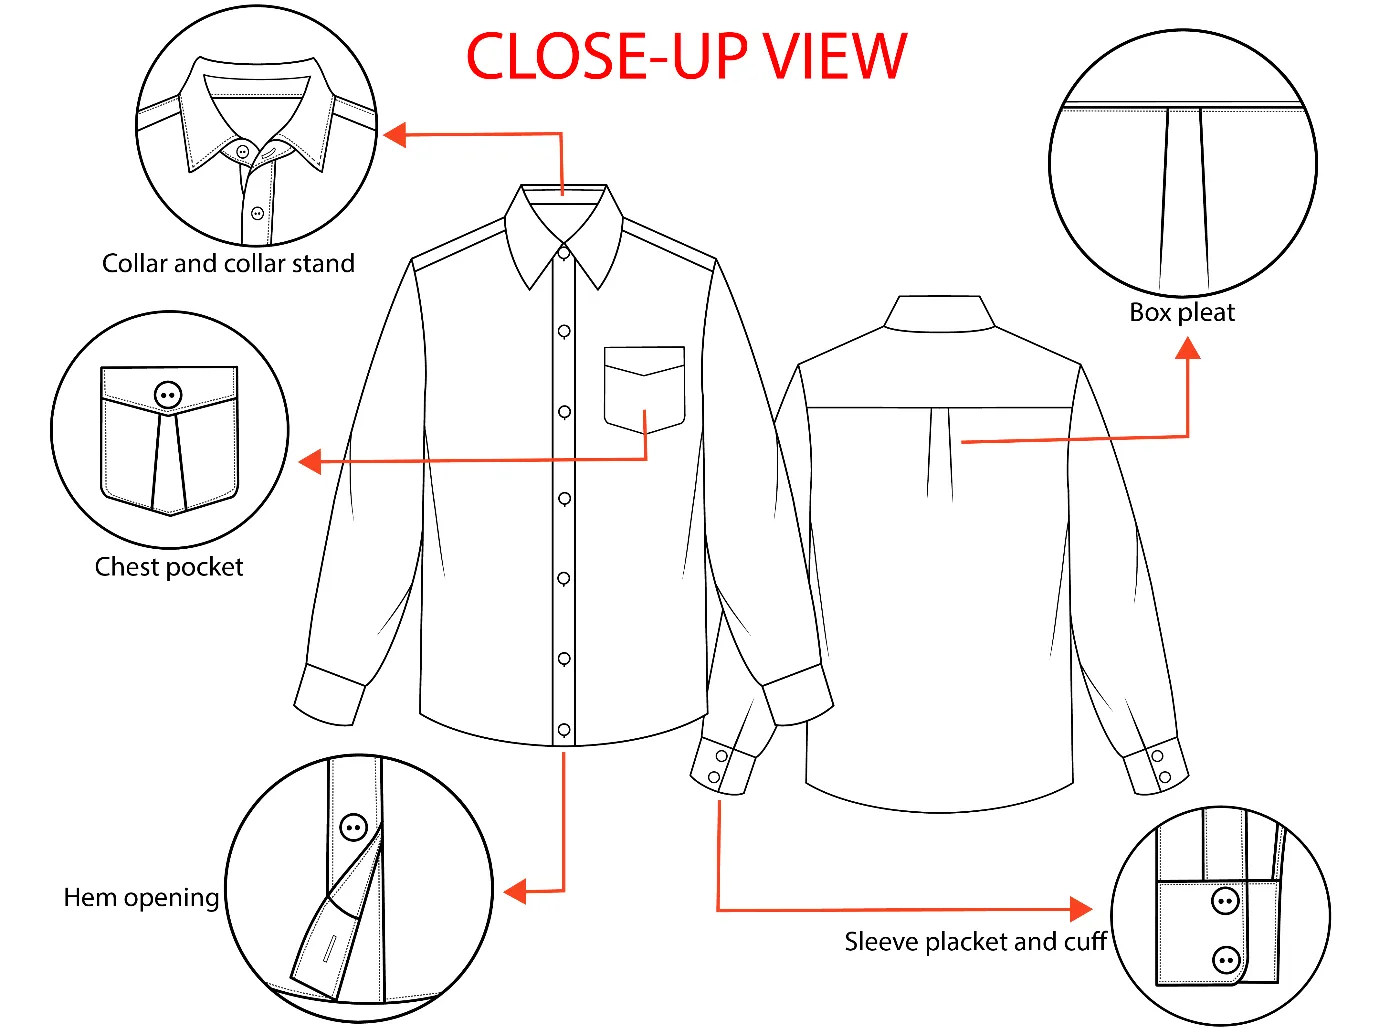
Build the Full Tech Pack
Start with a full tech pack — a sketch plus a fabric swatch never survives sampling in my audits. Use a simplified spec sheet only for exact repeat programs; it often skips the tolerance table.
A good spec package looks balanced on paper: clean CAD flats, no twist lines, stable seam placement. Build these elements:
- front/back CAD flats with callouts
- bill of materials
- Pantone references and thread-match targets
- point-of-measure table with graded sizes
- tolerance table for woven vs knit areas
- seam/construction notes and reinforcement map
- shrinkage allowance and wash expectations
Set Tolerances and Stitch Standards
For woven panels, use ±0.25 inch on body widths, ±0.5 inch on knit ribs, ±0.125 inch on tight woven pockets. These rules protect reorder consistency — a half-inch drift scales into hundreds of mismatched pieces.
High-wear areas follow LantaoWork’s plant-approved standards: 10–12 SPI on main woven seams, 12–14 SPI at stress points, and 3-step zigzag bar-tacks at pocket corners, belt loops, and fly extensions.
Do not write “reinforce as needed.” Write the exact stitch type, SPI, and bar-tack position.
Verification: Every size, seam rule, and tolerance is approved before sampling — the tech pack owner signs each table.
⚠️ Experience Warning: A missing shrinkage allowance forced us to recut 300 shirts after industrial wash testing. Write shrinkage acceptance limits in the spec, not in a follow-up email.
Step 2: Lock Bulk Fabric Only After Lab and Wash Approval
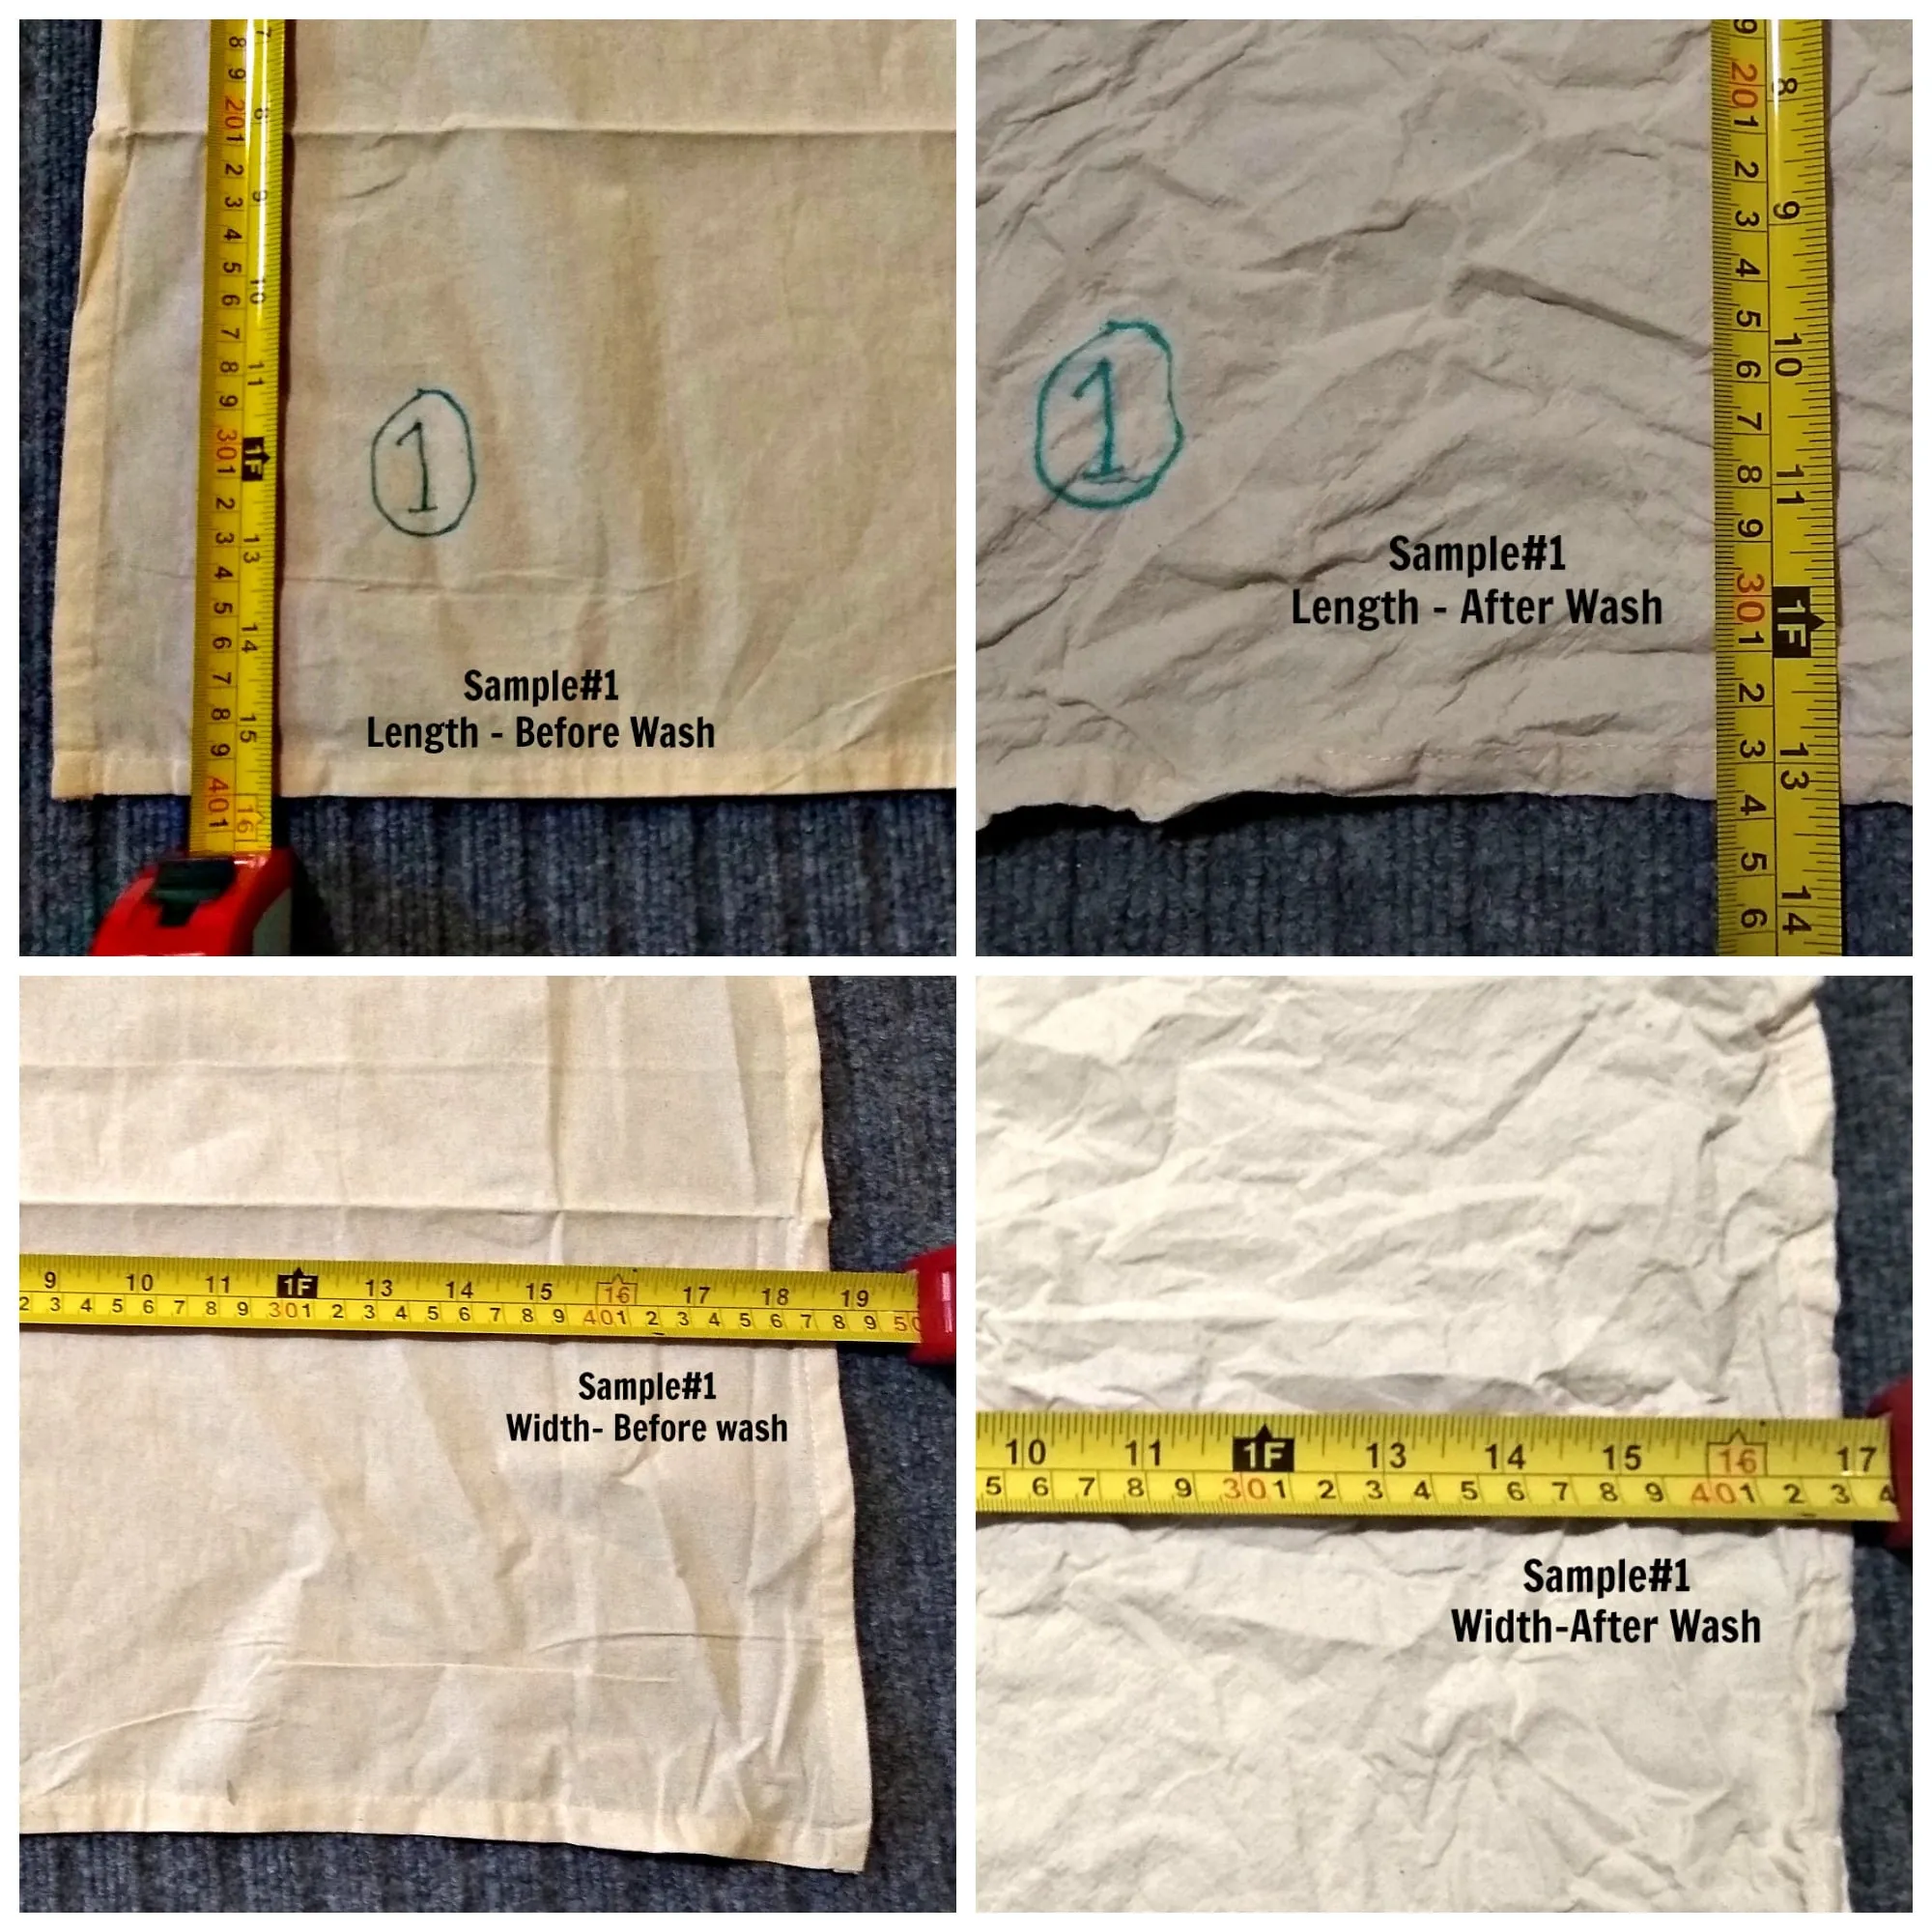
Confirm the Dye Lot Before Bulk
Same pattern, same cut file. Fit still drifts when fabric behavior changes lot to lot — twill shirts cut to identical specs have arrived with skewed side seams when mill torque changed.
First, confirm fabric MOQ vs garment MOQ. A 1,000-meter mill minimum against a 600-meter cut order forces a stock-fabric compromise. Approve lab dips or custom dye lots before bulk — shade shifts between rolls look fine on one swatch but produce mismatched front panels in packing.
Test Shrinkage and Compliance
Run shrinkage testing against the intended wash environment: 2–3% length shrinkage for woven twill, 5% for jersey.
Industrial laundering needs tighter control: 2% max for stable woven shells, or cuffs shorten and shoulder seams creep. Test color fastness with ISO 105 color-fastness guidance and, for skin contact, verify OEKO-TEX or REACH requirements.
Verify Trims and Fabric Feel
Test trim compatibility — a zipper tape that shrinks faster than the shell bows the front placket. Test closures, elastic, and thread under laundering. Cheaper substitutions cause expensive fit returns — $4,000 saved on elastic later cost $18,000 in alteration claims.
Feel the cut edge. Does it torque or curl? Does the hand stiffen after washing? Unstable fabric often cups at the hem.
Verification: Lock bulk fabric only when lab results, shrinkage behavior, and shade approval match the tech pack. For urgent repeat orders, stock fabric shortcuts are allowed only when the mill’s documented shrinkage and shade match the file; otherwise risk goes up.
If excess fabric survives this gate, reuse it for sustainable corporate uniforms rather than forcing it into the next batch.
⚠️ Experience Warning: A batch approved using mill shade cards arrived 0.8 of a shade redder than the lab dip and forced a 1,200-shirt recut. Approve the exact bulk dye lot, not a proxy.
Step 3: Approve the Full Size Set, Not Just the Showroom Sample
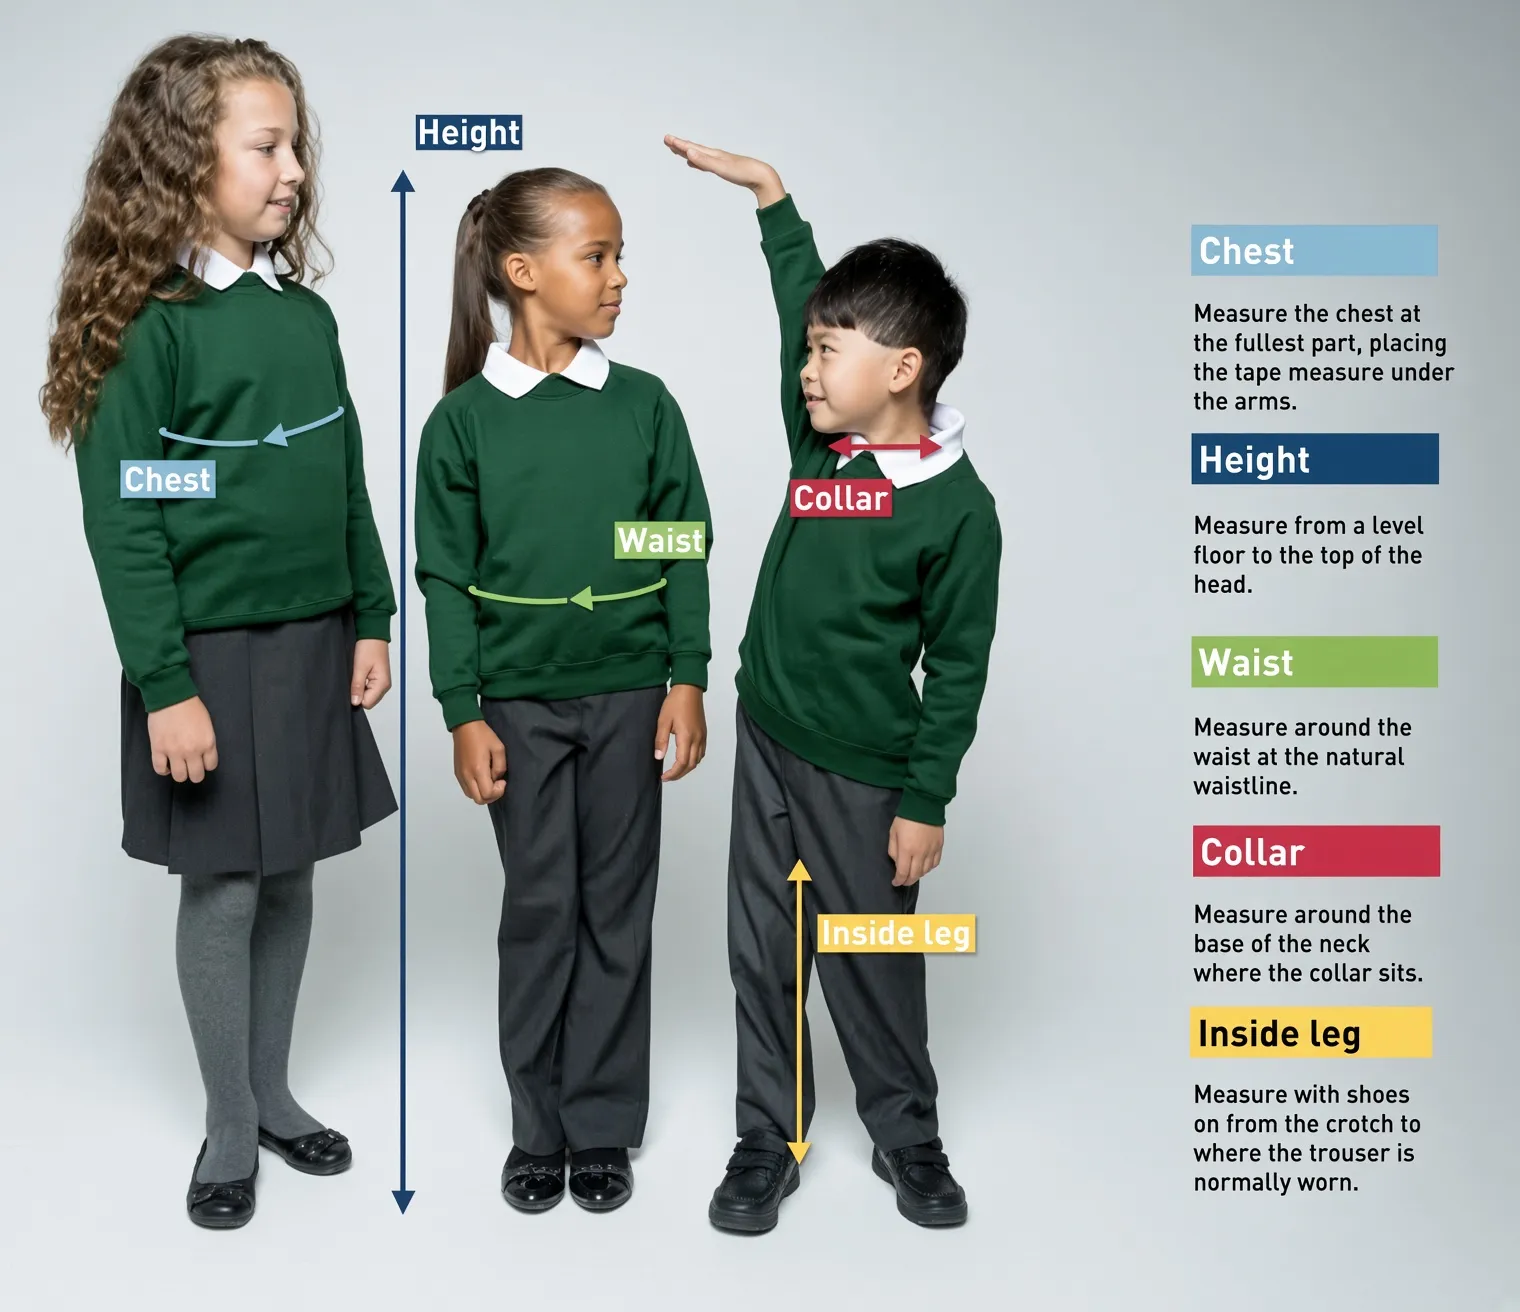
Build the Full Size Set
A single showroom sample lies — it fits one body and hides grade-rule errors. I watched buyers approve a medium sample and wonder why the larges fit like tents. For corporate uniform manufacturer programs, the fix is a live fit session on a full size set.
Follow this sequence:
- Choose the base size and confirm grade rules. Use a medium or large as the anchor, but always ask: “Who wears this most?” For school uniform manufacturers runs, base size may be youth large.
- Build a size set, not just one sample. XS–3XL for adults, or the full youth curve for schools. Do not let the factory trim the size range to cut its cost.
- Test on relevant wearer profiles. Students, field staff, hospitality teams, and office workers move differently. A polo that fits a seated office worker may bind a housekeeper reaching overhead.
- Compare measurements against tolerance tables. Measure every point on the spec sheet. In our audits, a 0.5-inch chest drift on size XL is a red flag, not a rounding error.
- Document corrections before PP sample approval. Write every adjustment on the size-set form. No verbal fixes.
Fit the Real Wearer
A correct fit sample sits like this: shoulder seam on the acromion, chest without an X-pull, waistband level with no gap, seat without diagonal drag, sleeve pitch falling clean with arms down.
I sat down with Garment Technician Mr. Qin to ask about sizing drift. He told me: “The biggest pitfall is grading length but not width. Factories add 2 cm per size in length and leave width flat. Size large gets longer, not roomier. We correct grade rules against real wearer data, not assumptions.”
One school-group client had consistent smalls but mediums that rode up. Fixing the grade rule for seat and crotch depth cut alteration costs 40% on the next reorder.
Plan the Order Mix
Use historical size data or bell-curve allocation to order the right mix, and adjust for new hire profiles. Ordering too many smalls guarantees costly exchanges.
Verification checkpoint: No bulk approval until the full size set passes measurements, wearer feedback, and wash-retention checks. 3D digital sampling is fine for early screening, but it never replaces a live fitting.
⚠️ Experience Warning: Buyers hate when one factory’s batch fits longer or wider than another. One good sample proves nothing about the next batch — cross-batch consistency depends on locked grade rules and a controlled size set, not a lucky fitting room photo.
Step 4: Enforce Cutting-Room Discipline Before Bundling
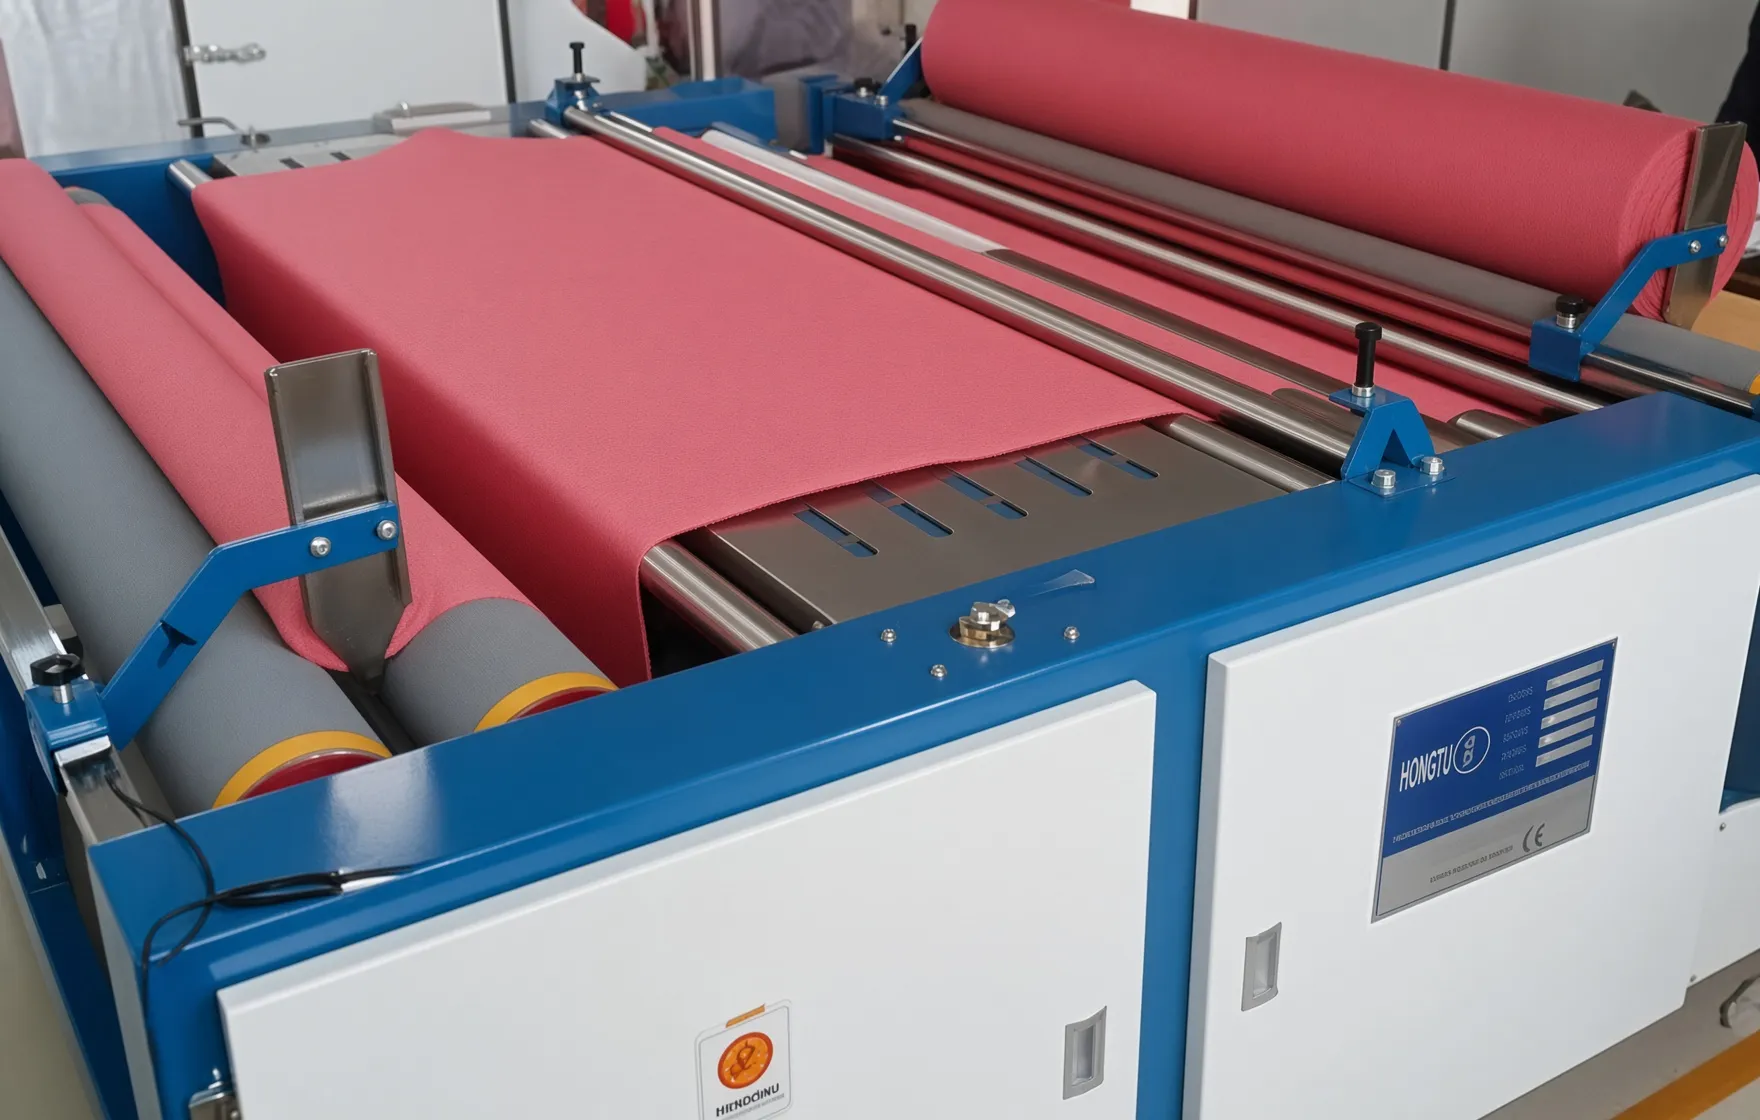
Enforce the Cutting Sequence
Start on the cutting floor — in my audits, fit drift begins here, before sewing. LantaoWork’s cut and sew floor runs this sequence:
- Inspect incoming rolls. Reject width changes, shade bands, and weaving defects at receiving.
- Let fabric relax. Unroll and rest it 8–12 hours. Tight winding twists panels and distorts grain; skipping this causes bowed side seams.
- Apply marker plans with shrinkage allowances. Check grainline arrows on each piece.
- Cut by lot and shade. Spread one dye lot per lay. Mixed lots cause panel mismatches and dimensional drift.
- Number and bundle pieces immediately. Tag size, lot, and bundle number. This stops mixed-size assembly confusion.
Sensory check: Correct cutting shows clean edges, visible notches, no lay slippage, and intact bundles.
Match Cutting Method to Volume
Automated cutting improves precision, but a CNC blade magnifies a bad marker or stretched lay. Fix marker, fabric prep, and operator controls first. Marker optimization saves material — do not sacrifice grainline for yield, since a crooked sleeve grain twists after wash.
Verification: Every cut panel matches the approved pattern and remains traceable by size, lot, and bundle.
🧠 Author’s Take: I trust laser cutting for high-volume workwear. For small runs, manual cutting works only with sharp knives and visible notches. I reject manual cutting for complex FR curves. Repeatability limits are real.
Step 5: Lock Construction Discipline with First-Piece Approval
Standardize Operator Instructions
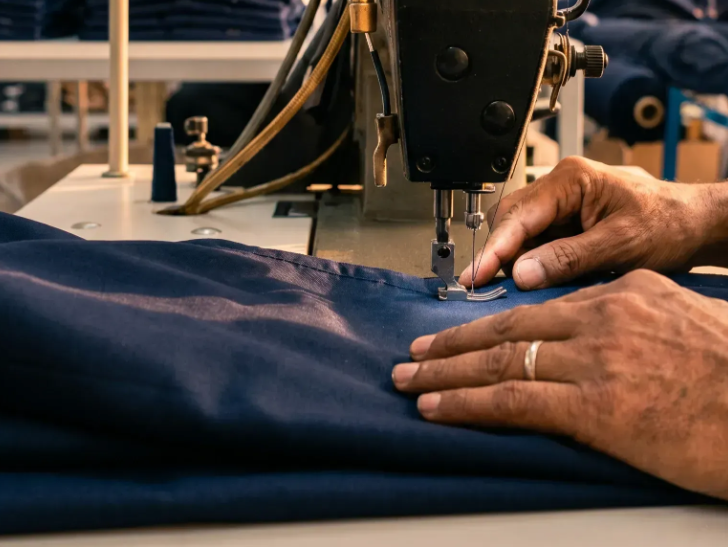
Standardized operator instructions prevent fit drift — one operator habit can pull a whole bundle out of square. Write a one-page sequence for each garment component before sewing starts.
Assign operations by component — split side seams, plackets, sleeve insertion, and hems into separate stations so no operator sews the whole garment. This reduces operator bias. As LantaoWork’s sewing floor supervisor Mei Lin told me: “A written sequence prevents operator drift. Memory does not.”
Lock Seams and Approve the First Piece
Lock seam type by use case. For workwear trousers: flat-felled seams on main legs, lockstitch for plackets, safety stitch for crotch curves, flatlock for knit collars. Carry the plant-approved SPI counts and bar-tack positions from the Step 1 spec into every operator sheet.
Approve first-piece construction before the line runs at scale — pull one piece from the actual production line, measure it against the tech pack, and sign off only after no twisting, puckering, or seam drift.
Perform in-line checks — pull one garment every 50 pieces, at the station, not at the end. During one schoolwear audit, this caught a placket pulling left by 0.6 cm before the batch shipped.
Place Branding by Measurement
Embroidery supports a premium corporate look, but dense backing can shrink the front panel and pull the side seam. Screen printing often works better for scale or flexibility because it adds less tension. Review our embroidery vs screen guide and the private labeling placement rules for branded programs.
Use measurement references for logo placement. For left-chest logos, set 7–8 cm down from the shoulder seam and 10–12 cm in from center front — never “align with the red stripe,” so color-blind inspectors can verify it too. Mishandled placement on stretch zones distorts chest measurements.
Verification checkpoint: The garment retains approved measurements after sewing and branding. Expect flat seams, even tension, secure bartacks. Embroidery should feel dense but springy, not board-stiff. No puckering, twisting, or logo placement drift.
🧠 Author’s Take: I reject nearly half of first-piece submissions because reinforcement points drift. A written operator instruction sheet fixes this faster than any fancy machine.
Step 6: Run the Final Verification Stack Before Shipment
Start final verification only after packing lines are staged. In our audits, this gate catches what sewing lines miss: drift in kitted sets and broken needles.
Audit Measurements and AQL
Re-measure every point against the Step 1 tolerance table. Any measurement outside tolerance fails the carton.
Inspect to AQL 2.5 for major defects and AQL 4.0 for minor defects, pulling samples per ISO 2859 AQL tables. Do not accept critical defects: broken stitches, exposed needles, unsafe closures.
Pull-Test Seams and Verify Wash Stability
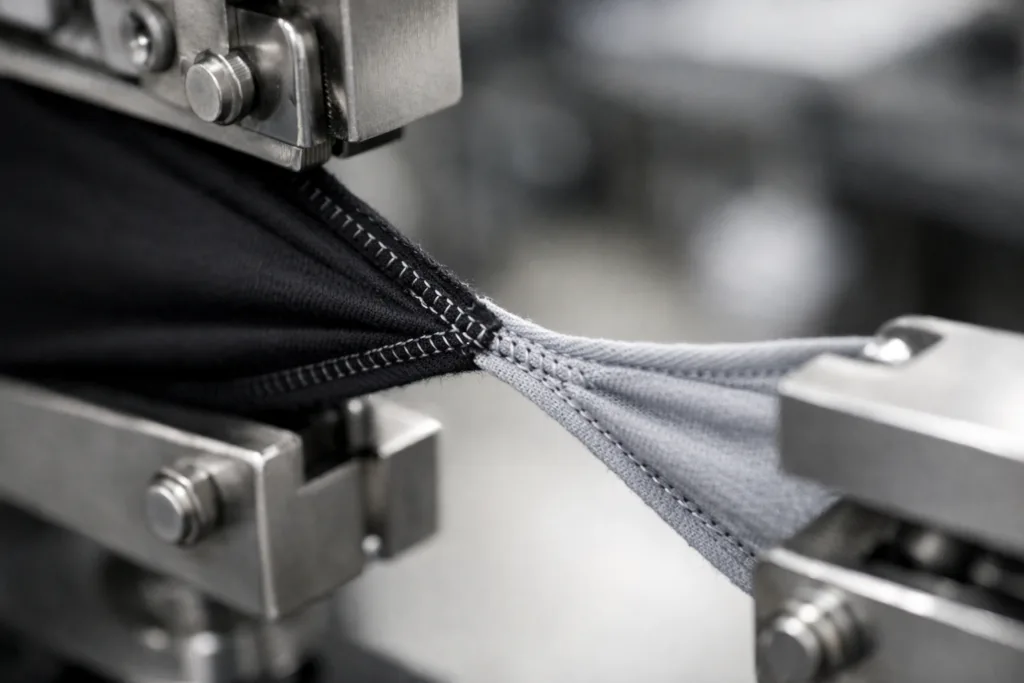
Follow LantaoWork’s seam-strength testing protocol using the ASTM D1683 seam-strength test method. Pull side seams at 15 lbs for 10 seconds and crotch seams at 25 lbs, rejecting thread fracture or fabric failure. Senior QA Manager Ge told me: “Pass means no crack and no needle damage; we reject if the fabric tears before the seam.”
Run wash and dimensional stability: one home wash at 40°C and one industrial wash at 60°C, then re-measure. Accept no more than 2% length change on stable woven shells.
Detect Needles and Validate Cartons
Run finished-garment needle detection. If the detector alarms, isolate and scan the entire bundle. I have seen a broken needle hide in a hem; it becomes a safety recall.
School districts and corporate programs often need individual set kitting, polybagging, and multi-destination split shipments. Verify each polybag label matches size, wearer name, and carton destination.
Verification checkpoint: Goods are sewn correctly, inspection-passed, traceable, and shipment-ready by location or wearer set. Sensory check: seams hold under pull, dimensions stay within tolerance after wash, closures move smoothly, and the packed set matches the size label.
⚠️ Experience Warning: Split shipments fail when warehouse teams ship by carton count instead of carton destination. Require carton-level scan validation for multi-site programs.
Fit Drift Troubleshooting
Batch-to-batch fit failures are pinned down with wash logs, grade tables, and wear trials.
1. The sample fit was good, but the bulk run came in longer or shorter
Likely cause: the shrinkage allowance was never locked, or panels were cut without letting the fabric relax — both shift length away from the sample. The sample room never reveals it.
Fix: Pause shipment and compare wash-test logs to bulk fabric lots, following AATCC 135. Re-measure by lot before rework — this ties back to Step 2 shrinkage approval and Step 4 relaxation. After washing, look for diagonal side seams, cupped hems, or shortened sleeves. If length drift exceeds tolerance, stop production now.
2. Some sizes fit correctly, but edge sizes fail
Likely cause: weak grade rules or approving only one size.
Fix: Rebuild the grade table. Re-approve XS–3XL. Measure chest, seat, sleeve pitch, and waistband level. At line inspection, edge sizes tend to run long instead of gaining width. Tie this back to Step 3. If edge sizes fail again, halt the line.
3. The garment spec passed, but wearers still complain
Likely cause: wrong wearer profile assumptions, decoration stiffness, or mobility points not tested. Dense embroidery backing pulls chest panels and side seams in my trials.
Fix: Run a live wear trial with the actual user group. Adjust ease or logo placement. Re-check Step 5 construction and decoration logic. If workers still report tight shoulders or binding sleeves, halt the run — do not try to inspect your way out of it.
🛡️ Prevention: Lock shrinkage and grade rules before cut. Use your ISO 8559 size chart to confirm full size sets. Fit consistency cannot be inspected into a batch that was never controlled.
⚡ Quick Fix: Never accept a single-size approval. Confirm bulk lot shrinkage and full size set before cut.
Frequently Asked Questions About Cut and Sew Uniform Manufacturing
1. How often should I re-audit the full size set?
Re-audit before every production order, not once a year — fabric lots and operator habits change, and fit drift comes back when you stop checking. Measuring XS through 3XL against the approved grade rules takes half a day. Skipping it is how the edge sizes drift.
2. What is AQL 2.5 and why does it matter for uniforms?
AQL stands for Acceptable Quality Level. AQL 2.5 means no more than 2.5% major defects in the inspected sample. Samples are pulled per ISO 2859 tables. Critical defects get zero tolerance — enforced at final verification before any carton ships.
3. Can we skip the full size set for a small order?
No. Small order or not, the grade rules still need checking across the size range. A 300-unit school run still needs the full youth curve. Some factories offer S and L sampling to cut cost — I rejected that shortcut once.
4. Why does bulk fit differently from the sample?
Three causes: shrinkage not locked, fabric substitution, or cutting without relaxation. Sample-room pieces hide all three. Bulk lots arrive with mill torque or stretched lay marks. Trace the bill of materials against wash-test logs and cut records. Fix it before you ship, not after returns pile up.
5. How long does a fit-consistency review take?
Preproduction approvals take three to five business days, covering spec sign-off, fabric shrinkage testing, size-set measurement, and first-piece approval. Rush orders skip gates and fail later. Procurement teams should build this window into each PO — it costs less than one recut.
6. What should a finished carton look like?
Check three things: flat seams, no puckering, and accurate size labels. Open a random carton and pull sets. Each polybag label must match what’s inside and where it ships. We once caught 200 medium sets labeled small on the carton — that distribution error would have caused hundreds of return requests.
Final Thoughts
Control all six phases and reorders become predictable, return costs fall. The same workflow runs inside LantaoWork’s own factory, measured daily. Audit your current uniform program against this checklist — look for fit drift in your last three shipments and measure what fails. Then request a fit-consistency review or preproduction consultation — talk to our manufacturing team.
Transparency note: This method reflects LantaoWork’s in-house manufacturing and audit process. I receive no kickbacks from outside testing vendors or suppliers.

Leave a Comment
Your email address will not be published. Required fields are marked *